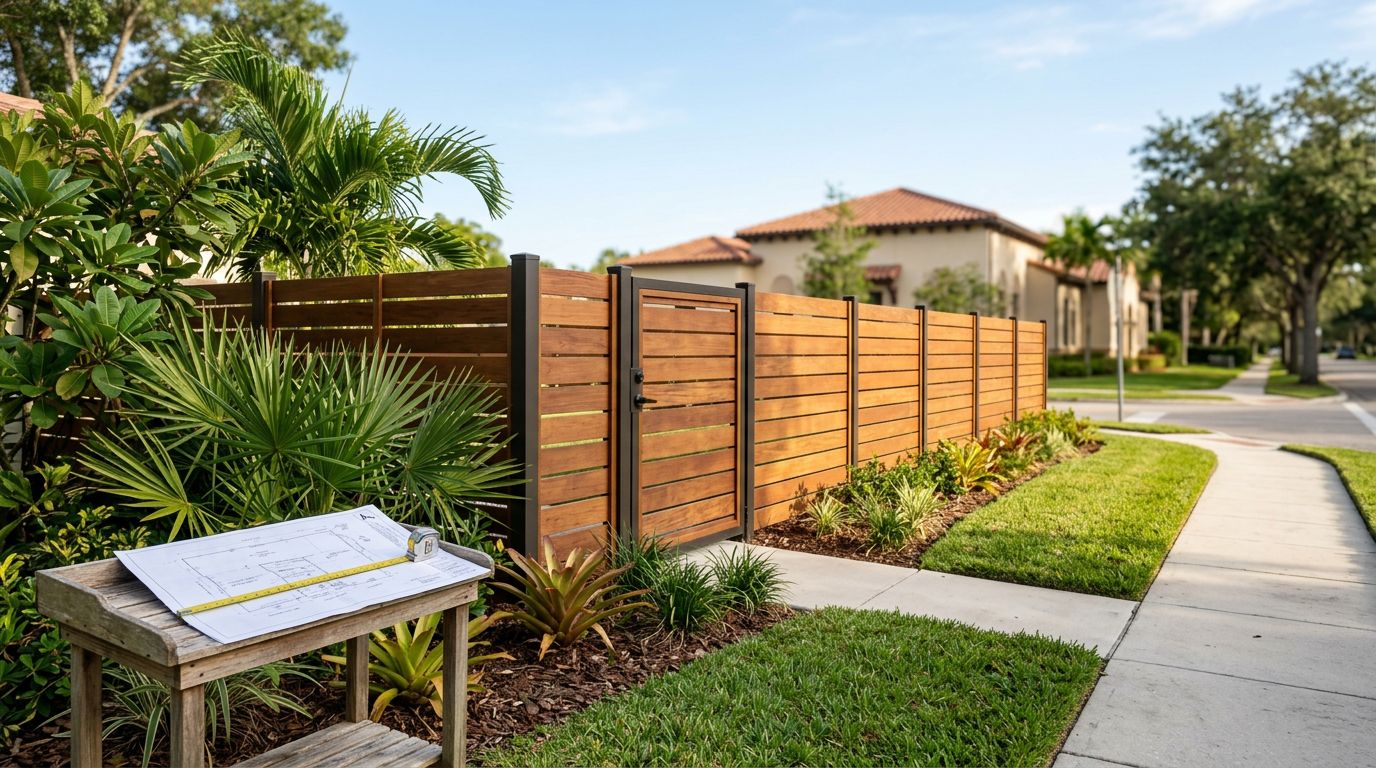
Cape Coral Fence Cleaning Guide for 2026, How to Remove Green Algae, Mold, and Hard-Water Stains (Vinyl, Aluminum, Wood)
Green streaks on the “shady side” of your fence can show up fast in Cape Coral. Add sprinkler overspray, salty humidity, and long rainy stretches, and a fence that looked sharp last season can start to look tired.
This Cape Coral fence cleaning guide keeps it practical for HOA-conscious neighborhoods: plant-safe and pet-safe methods first, stronger options only when needed, plus material-specific tips so you don’t strip finishes, loosen fasteners, or end up with streaks that look worse than the stain.
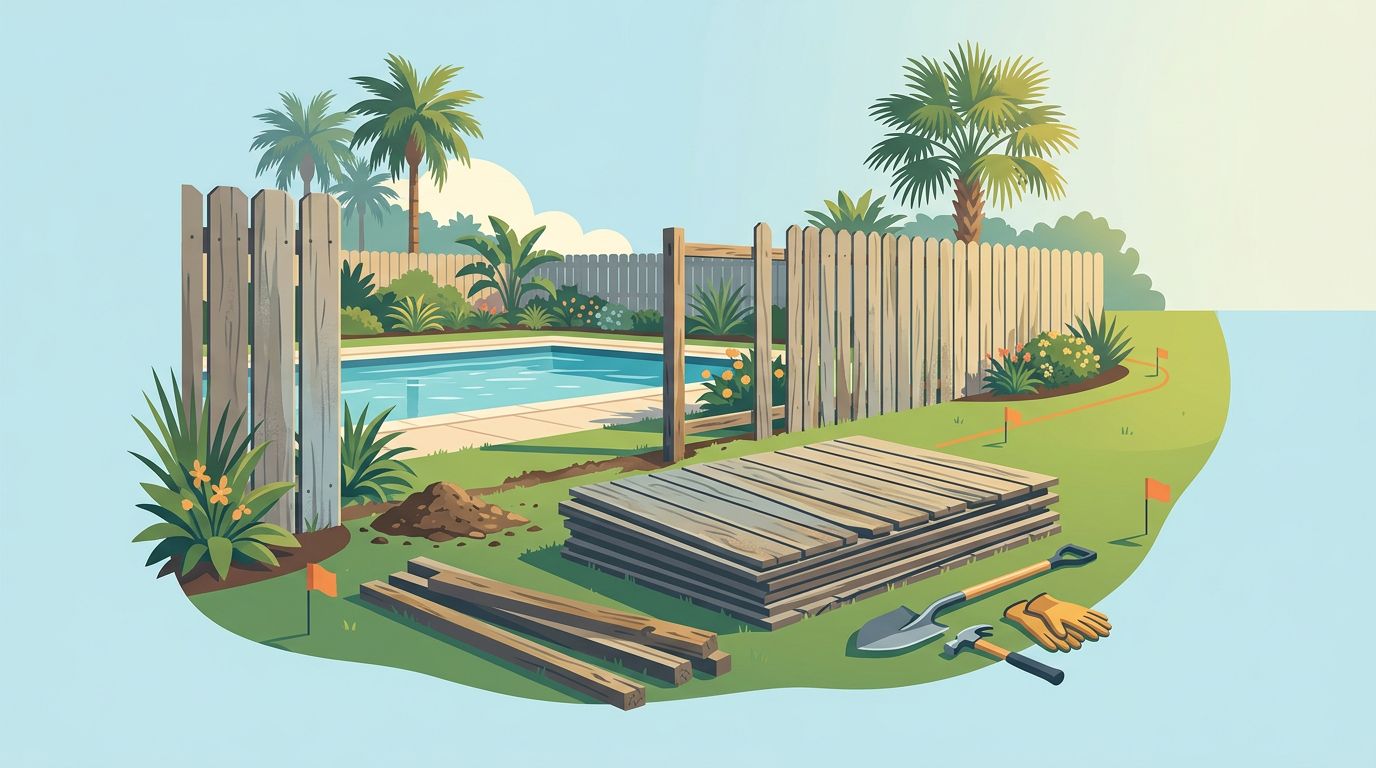
Set up the job so you don’t harm landscaping or feed storm drains
A good clean starts before you mix anything. Think of it like washing a car, the prep prevents scratches, streaks, and runoff problems.
Start by protecting the yard. Rinse nearby plants with plain water first, then lightly mist leaves again after cleaning to dilute any overspray. If you’ve got delicate beds along the fence line, drape breathable fabric or plastic loosely over shrubs, then remove it as soon as you’re done so plants don’t “cook” in the sun.
Control runoff like it matters, because it does. Keep cleaners out of street gutters and storm drains, especially in canal neighborhoods. Use towels, absorbent socks, or even rolled up rags at the base of the fence to slow flow. Work in small sections so you can catch drips and rinse in a controlled way. If you’re using any cleaner stronger than soap, collect puddles with a wet/dry vac when possible and dispose of it in a sanitary drain inside (not the driveway).
A few rules that prevent most fence damage:
- Skip high pressure. Use a garden hose nozzle or a pressure washer on a wide fan tip at low pressure, held back from the surface.
- Don’t blast seams, post caps, or pickets from below, it can drive water behind panels and into fastener holes.
- Spot test first, especially on older vinyl, painted wood, and powder-coated aluminum.
If your fence already has loose rails, cracked vinyl, or wobbly posts, cleaning can make it worse. That’s a good time to schedule Cape Coral fence repair services before you scrub hard or spray water into weak joints.
Green algae and mold removal (plant-safe first, stronger second)
In Cape Coral, that green film is usually algae, with mildew or mold mixed in on shaded, damp areas. The goal is to kill it, lift it, then rinse it away without bleaching your landscaping.
Step 1: Gentle wash for routine grime (all fence types)
For light dirt, pollen, and surface mildew, start simple: warm water, a small amount of dish soap, and a soft brush or non-scratch sponge. Rinse well.
For vinyl-specific basics and a simple routine, see Better Homes & Gardens’ vinyl fence cleaning methods and compare them to what your fence actually needs.
Step 2: Oxygen bleach for algae and mold (best balance for most homes)
If the fence has green staining, step up to an oxygen bleach solution (sodium percarbonate). It’s often the best first “real” cleaner because it’s effective, less harsh than chlorine bleach, and generally safer around plants when used correctly.
Use this approach on vinyl, aluminum, and unfinished or sealed wood:
- Wet the fence and nearby plants.
- Mix oxygen bleach with water per label directions, add a small amount of non-ammoniated soap as a surfactant so it clings.
- Apply bottom to top (prevents drip streaks), let it dwell 5 to 10 minutes, keep it from drying.
- Agitate lightly with a soft brush (wood with the grain).
- Rinse top to bottom until runoff is clear.
If you’re comparing equipment and rinse techniques, Lowe’s step-by-step vinyl fence cleaning guide has a helpful overview you can adapt for other fence materials.
Step 3: Diluted chlorine bleach for stubborn growth (use with strict safety)
If oxygen bleach doesn’t touch thick algae or black mold spotting, a diluted sodium hypochlorite wash can work, but it’s the “use carefully” option.
Key safety steps that matter in tight-lot neighborhoods:
- Wear gloves and eye protection, and avoid windy days.
- Ventilation matters, don’t work in enclosed side yards with no airflow.
- Pre-wet plants and soil, and rinse them again after.
- Keep the mix mild and don’t let it dry on the fence.
- Never mix bleach with acids or ammonia , that can create toxic gas.
For algae, bleach works best with a surfactant so it stays on the vertical surface. Apply, short dwell time, gentle scrub, then rinse thoroughly. On wood, bleach can lighten color and raise grain, so keep it as a last resort.
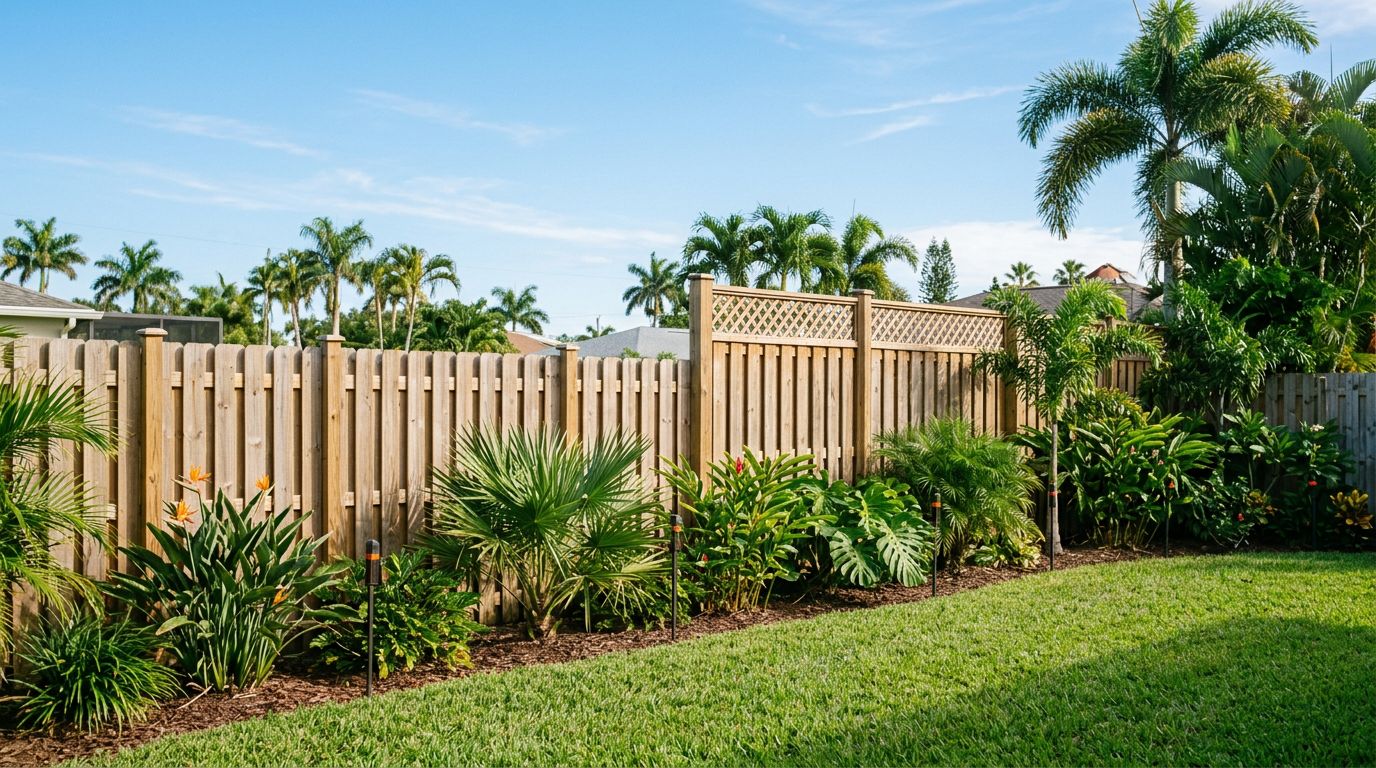
If you’re planning a new low-maintenance fence where cleaning is usually just a quick wash, it’s worth looking at vinyl fence installers in Cape Coral and choosing styles that hide splash zones and sprinkler overspray.
Hard-water stains and sprinkler spots (white haze, crust, and rust marks)
Hard-water staining is the slow drip that adds up: white mineral haze, chalky runs under sprinklers, and crusty buildup where water repeatedly hits the same spot. Treat it like scale on a shower door, but with more caution since you’re working outdoors near landscaping.
Start with the least aggressive method: soap and water, then a 50/50 mix of white vinegar and water on a rag for spot cleaning. Vinegar is acidic, so don’t flood the area, don’t let it sit long, and rinse well. On powder-coated aluminum, prolonged acid contact can dull the finish, so keep it quick and controlled.
For heavier mineral deposits, use an acidic mineral remover (product-type, not brand-dependent). Many are based on mild acids; follow label directions exactly and work small. Protect galvanized hardware and decorative caps, because acids can etch metal and discolor fasteners.
Rust-colored stains often come from irrigation water, metal runoff, or fertilizer. An oxalic acid-based cleaner is commonly used to lift rust and tannin stains, and it’s also used as a wood brightener. Use it only after you’re done with any bleach-based cleaning, and rinse tools and surfaces well. Again, never combine acids and bleach, even “a little,” even in the same bucket.
Wood fences: clean, brighten, then re-seal
For wood, the best-looking results usually come in two passes:
- A wood cleaner (often oxygen bleach-based) to remove grime, algae, and mildew.
- A wood brightener (often oxalic or citric-based) to even out color and reduce dark staining.
After it dries, consider re-sealing. In Southwest Florida’s sun and moisture, many homeowners re-seal every 1 to 3 years depending on exposure and product type. If your HOA expects a uniform look, sealing also helps the fence clean up easier next time.
DIY time and cost, plus when to hire a pro
Here’s a realistic ballpark for a typical single-family home fence, assuming normal access and average staining:
| Task | Typical DIY time | Typical DIY supplies | Common pro range (varies widely) |
|---|---|---|---|
| Light wash (soap, hose) | 1 to 2 hours | $10 to $25 | $150 to $300 |
| Algae and mold treatment | 2 to 4 hours | $25 to $80 | $250 to $700 |
| Mineral stain spot removal | 1 to 3 hours | $15 to $60 | $200 to $600 |
Hire a pro when access is tight, staining is heavy on tall panels, runoff control is risky near storm drains or canals, or you’re seeing damage (loose posts, bowed rails, cracked vinyl, failing paint). Cleaning should improve your fence, not uncover a repair you now have to rush.
Conclusion
A clean fence changes how the whole property feels, like turning on the lights in a room. Start with the gentlest method that can work, control runoff, and match the cleaner to the fence material instead of guessing. If you keep up with a simple rinse schedule, most Cape Coral fence cleaning jobs stay quick, neighbor-friendly, and HOA-safe .