What Happens If Your Fence Fails Final Inspection in Florida
A fence can look finished and still fail final inspection. In Florida, that can delay your permit closeout, trigger corrections, and hold up the final sign-off on the job.
If you just had a new fence installed or repaired, a failed inspection does not mean the work is ruined. It usually means one or more details do not match the approved plans, local code, or the inspector's checklist.
That matters because inspection rules vary by city and county. The smartest next step is to fix the right issue first, then check with your local building department before you schedule the reinspection.
What a failed final inspection means for your fence
Final inspection is the last permit check. It tells the building department that the fence was built where it was approved, at the right height, with the right materials, and with the required hardware.
When a fence fails, the permit usually stays open. That means the project is not fully closed out, even if the fence is already standing and usable.
Sometimes the inspector leaves a written correction list. Other times, you get notes through the permit portal or from the contractor. Either way, the message is the same, something needs to change before approval.
A failed final inspection is usually a correction notice, not a dead end. The fence can still pass once the issues are fixed.
In many Florida cities and counties, the reinspection process is simple. You make the correction, then request another visit. In others, the department may want updated documents, a revised site plan, or proof that the change matches the permit.
If the issue traces back to a repair or a partial rebuild, review Florida fence repair permit requirements before you change the work. A small correction can turn into a bigger permit question if the scope changes.
Common reasons fence final inspections fail in Florida
Most failed inspections come down to a handful of repeat problems. Some are easy to spot. Others show up only when the inspector measures the fence or checks the hardware.
Here is a quick look at the issues that come up most often:
| Common problem | What the inspector sees | Usual fix |
|---|---|---|
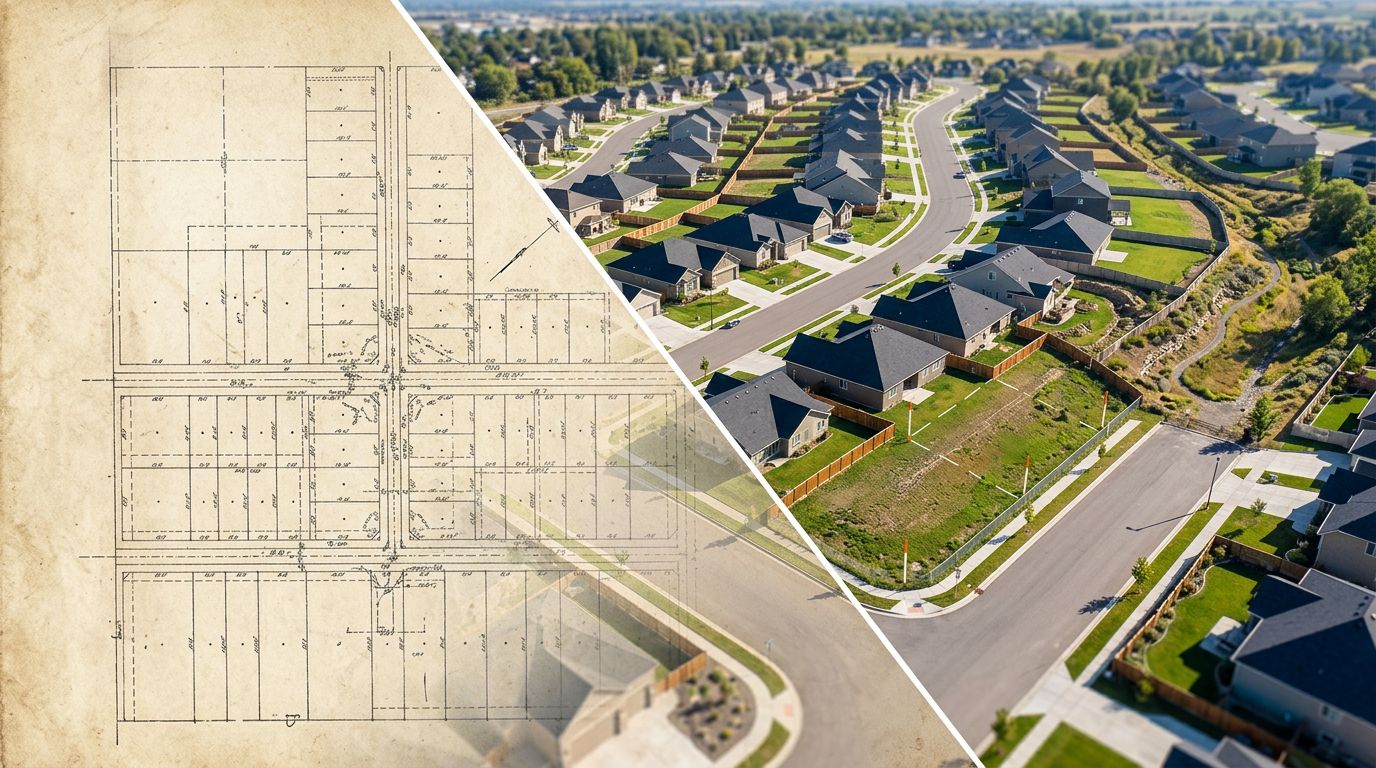
| Fence is in the wrong spot | The fence line does not match the approved site plan or crosses a setback | Move the section, or update the permit if the change is allowed |
| Fence is too tall | The height exceeds local limits for the yard, corner lot, or pool area | Trim the height or rebuild the section to the approved size |
| Posts are not set correctly | Posts are too shallow, loose, or spaced too far apart | Reset posts and follow the required spacing and depth |
| Gate hardware fails | Latch height, swing direction, self-closing parts, or pool barrier parts are not right | Adjust or replace the gate hardware |
| Work does not match the permit | The built fence differs from the approved material, layout, or style | Revise the permit or correct the fence to match the plan |
The biggest lesson here is simple. The inspector is comparing the built fence to the approved paperwork, not to what seemed fine during construction.
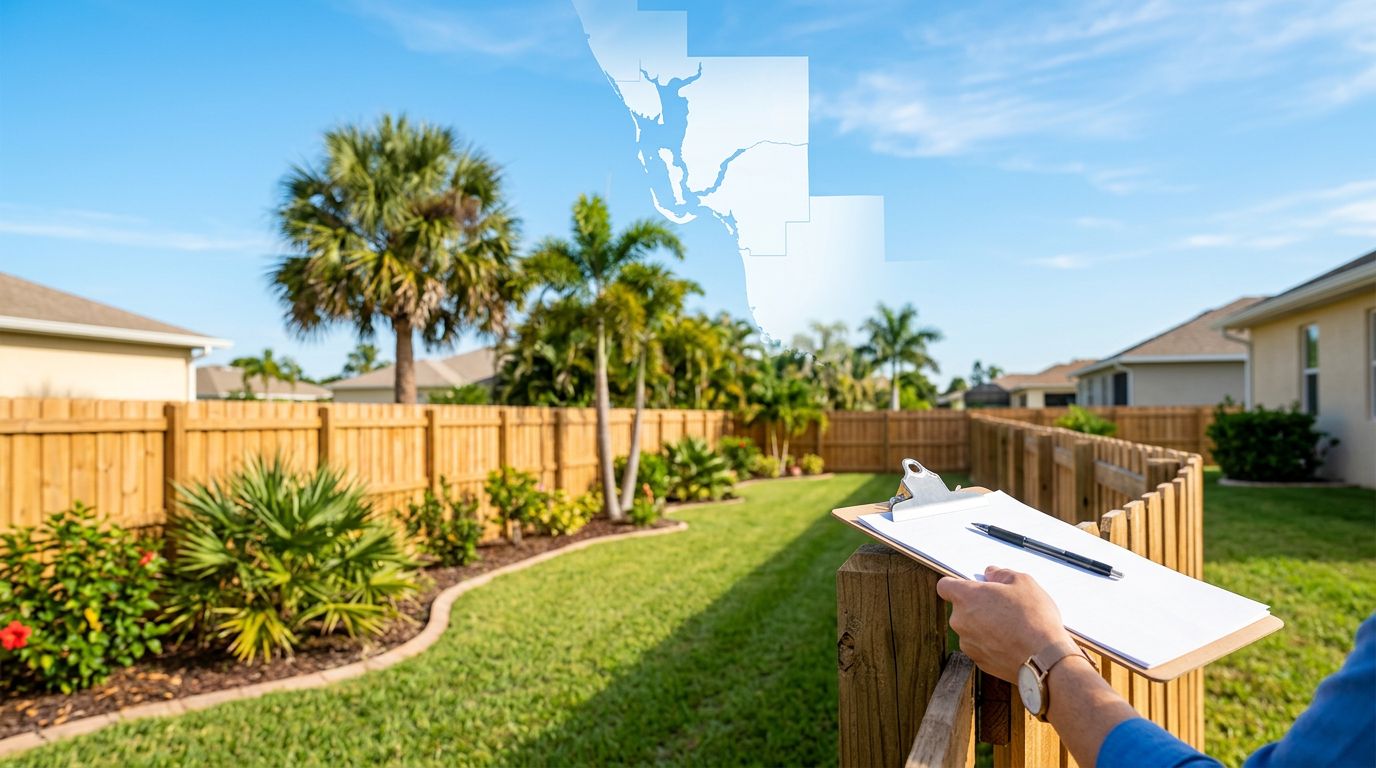
In Southwest Florida, property lines, drainage easements, and corner visibility can also create trouble. A fence that looks neat from the street can still fail if it lands where it should not.
If you are in Collier County, check Collier County fence permit requirements before you set the final layout. Local rules can be stricter than homeowners expect.
What happens after the inspector leaves a correction notice
A failed inspection usually starts a simple chain of events. The important part is to act on the notes fast, because delays can keep the permit open longer than needed.
- Read the correction notes carefully.
Do not guess at the problem. Make sure you know whether the issue is location, height, hardware, or paperwork. - Compare the fence to the approved plan.
A tape measure and the permit site plan can save a lot of back-and-forth. If the built fence does not match the plan, the fix may start there. - Make only the needed correction first.
Small mistakes are often fixed with a quick adjustment. Bigger changes may need a permit revision or a new approval. - Schedule the reinspection.
Once the work is corrected, book the follow-up visit through the local process. Some departments allow online scheduling. Others want a phone call. - Keep your documents on hand.
Have the permit number, site plan, and inspection notes ready. That makes the second visit smoother.
In some places, a reinspection fee may apply. In others, the department may limit how soon you can reschedule. That is why it helps to confirm the process with the local building office instead of assuming it works the same everywhere.
The main point is this, a failed final inspection does not erase the job. It pauses the closeout until the fence lines up with the permit and the local code.
Fixes that usually get the permit closed
Some corrections are simple. Others require more work, but most are manageable if you tackle them in the right order.
Adjust the fence before you repaint or finish anything else
If the fence is only off by a small amount, the easiest fix may be a minor adjustment. That could mean lowering a section, adding support, or changing a gate latch.
If the fence is too close to a property line or easement, the correction may be bigger. In that case, moving the fence is better than hoping the inspector will overlook it.
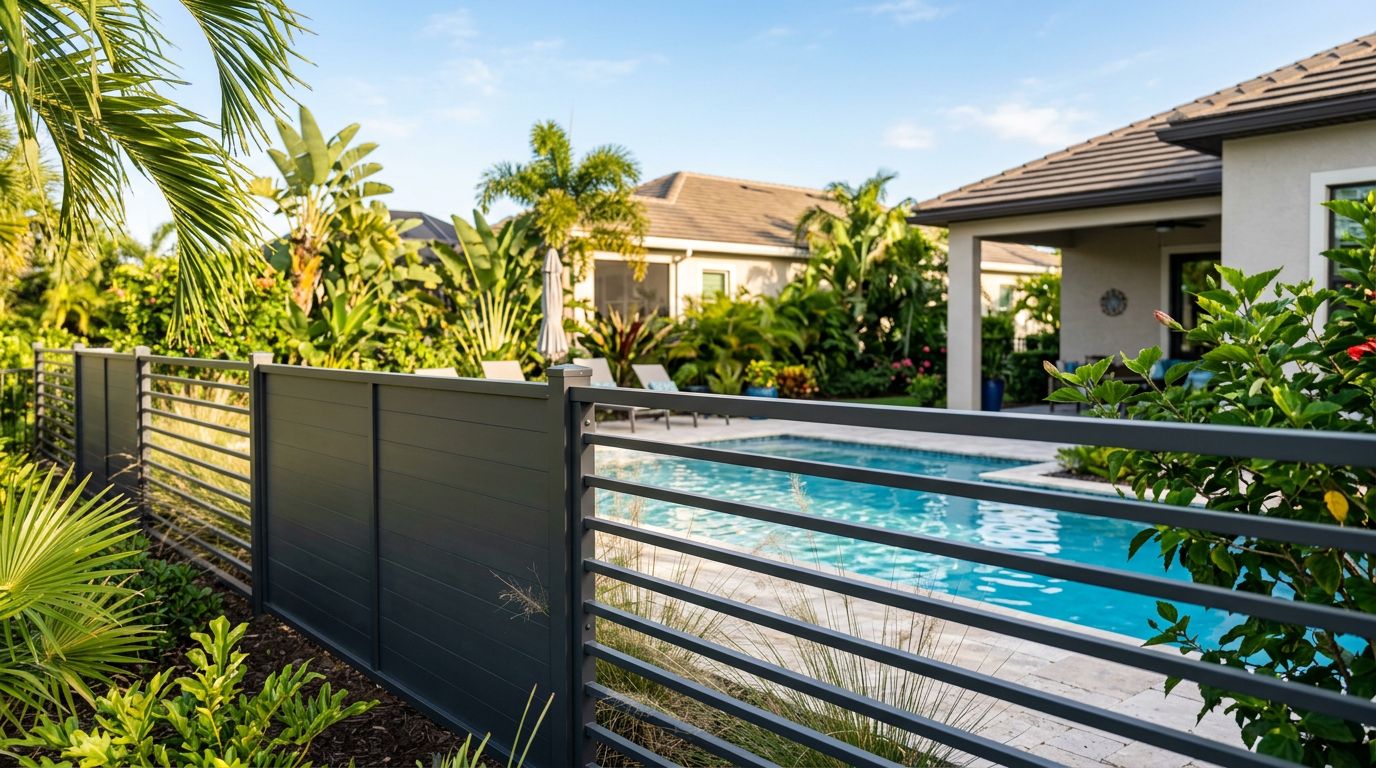
Correct gate and pool-barrier details first
Gates often cause repeat failures. Latch height, self-closing hardware, and gate swing direction matter more than many homeowners expect.
For pool barriers, the rules can be even tighter. A fence that works for a side yard may still fail if it does not meet barrier requirements around a pool area.
Re-check the permit if the repair changed the scope
Sometimes the finished work is different from what was approved. That can happen after a storm repair, a partial replacement, or a change in materials.
If the repair affects fence height, layout, or type, the permit may need an update before the inspector returns. That is one reason it helps to review fence replacement and repair permit guidelines before making bigger changes.
A corrected fence usually passes once the site, hardware, and paperwork all match. The goal is not to argue the inspection. The goal is to make the fence fit the rules that were already in place.
How to avoid a second failed inspection
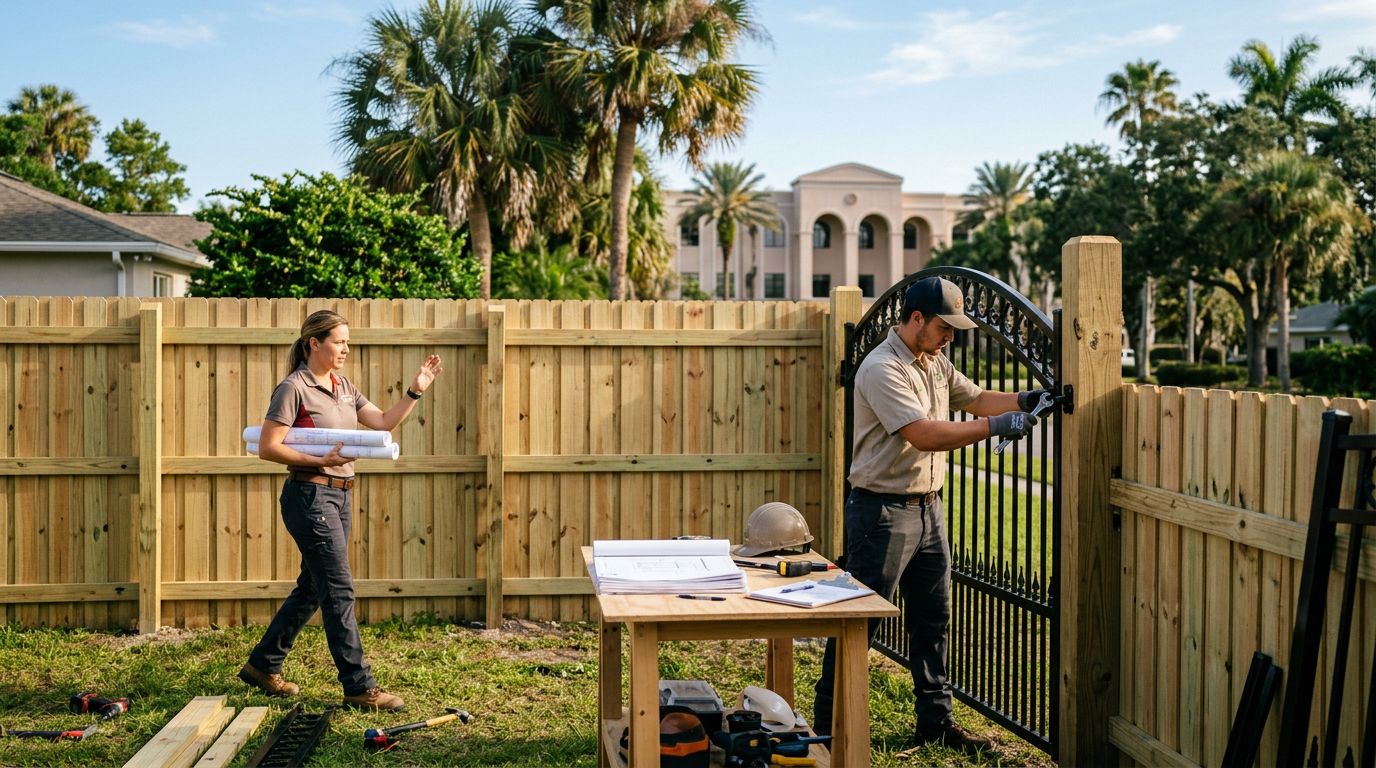
The easiest way to avoid another delay is to treat the first inspection like a final check, not a formality. A few careful steps before the inspector arrives can save days later.
Measure the fence line before construction starts. Confirm setbacks, height limits, and corner conditions with the local building department. Also, make sure the permit drawing matches the way the fence is actually built.
Call 811 before digging. That step matters for every fence, even short runs. It helps prevent utility strikes and costly repairs.
Keep the approved site plan, permit card, and inspection notes where the crew can see them. When everyone works from the same plan, mistakes drop fast.
A pre-inspection walk-through helps too. Walk the fence line with your contractor and look for loose caps, broken latches, uneven heights, and sections that drifted off the line.
If the property is in a county with stricter review, ask early. Local rules can change from one city to the next, and that is true across Southwest Florida. What passes in one municipality may need another check somewhere else.
Conclusion
A fence that fails final inspection in Florida usually needs correction, not a full do-over. The permit stays open until the fence matches the approved plans and local rules.
Most failures come from a short list of issues, such as height, placement, gate hardware, or paperwork. Once those are fixed, the reinspection is usually straightforward.
The best result comes from careful measuring, local code checks, and quick action after the first correction notice. That keeps the permit moving and helps your fence pass the next time.