Avoid Fence and Sprinkler Line Conflicts in Southwest Florida Yards
A new fence can turn into a costly repair if it cuts through an irrigation line. In Southwest Florida, that risk is higher because many yards hide shallow sprinkler pipes, valve boxes, and drip lines near the property edge.
Sand, summer rain, and thick tropical plantings make those lines harder to spot. Before the first post hole goes in, the fence layout needs to protect the irrigation system too. That part takes a little planning, but it saves money fast.
Why irrigation systems and fences collide so often
Southwest Florida yards create a tricky setup. Sandy soil shifts more than dense clay, so shallow pipes can move, settle, or sit closer to the surface than expected. Frequent rain also softens the ground and hides wet spots that hint at a buried line.
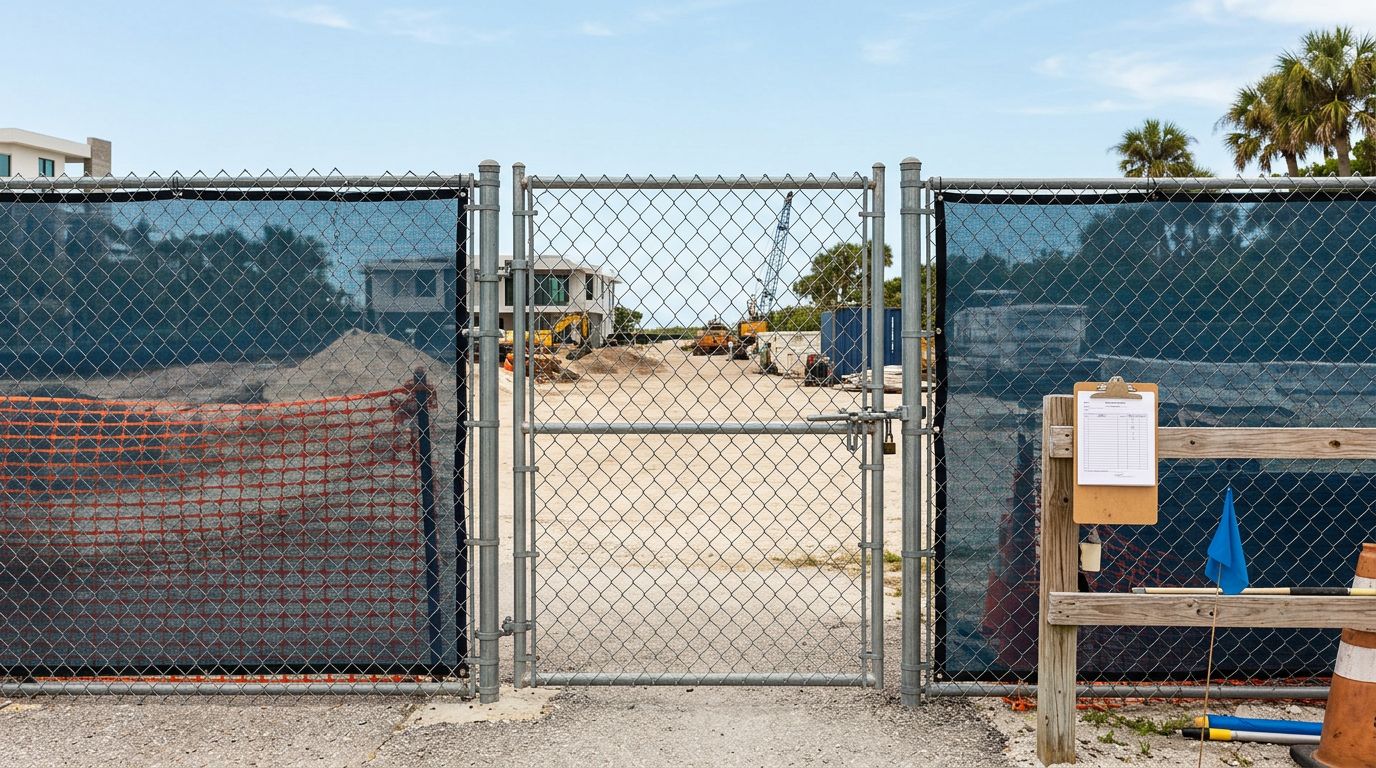
Sprinkler heads often sit right where a fence line looks most practical. So do valve boxes, backflow devices, and drip lines feeding hedges, palms, and flower beds. When a crew starts digging post holes, one wrong shovel cut can crack PVC or crush a service box.
Here's a quick look at the most common trouble spots:
| Irrigation part | Common fence conflict | Better approach |
|---|---|---|
| Sprinkler heads | Post hole lands on the head line | Flag each head and shift the layout if needed |
| PVC supply lines | Digging cuts a shallow pipe | Mark zones and confirm line paths before digging |
| Valve boxes | Fence posts block access for repairs | Keep a clear service area near boxes |
| Drip lines | Footings pinch lines in landscape beds | Relocate drip lines before install day |
The main takeaway is simple. The fence line should follow the yard, not force the irrigation system into a bad spot.
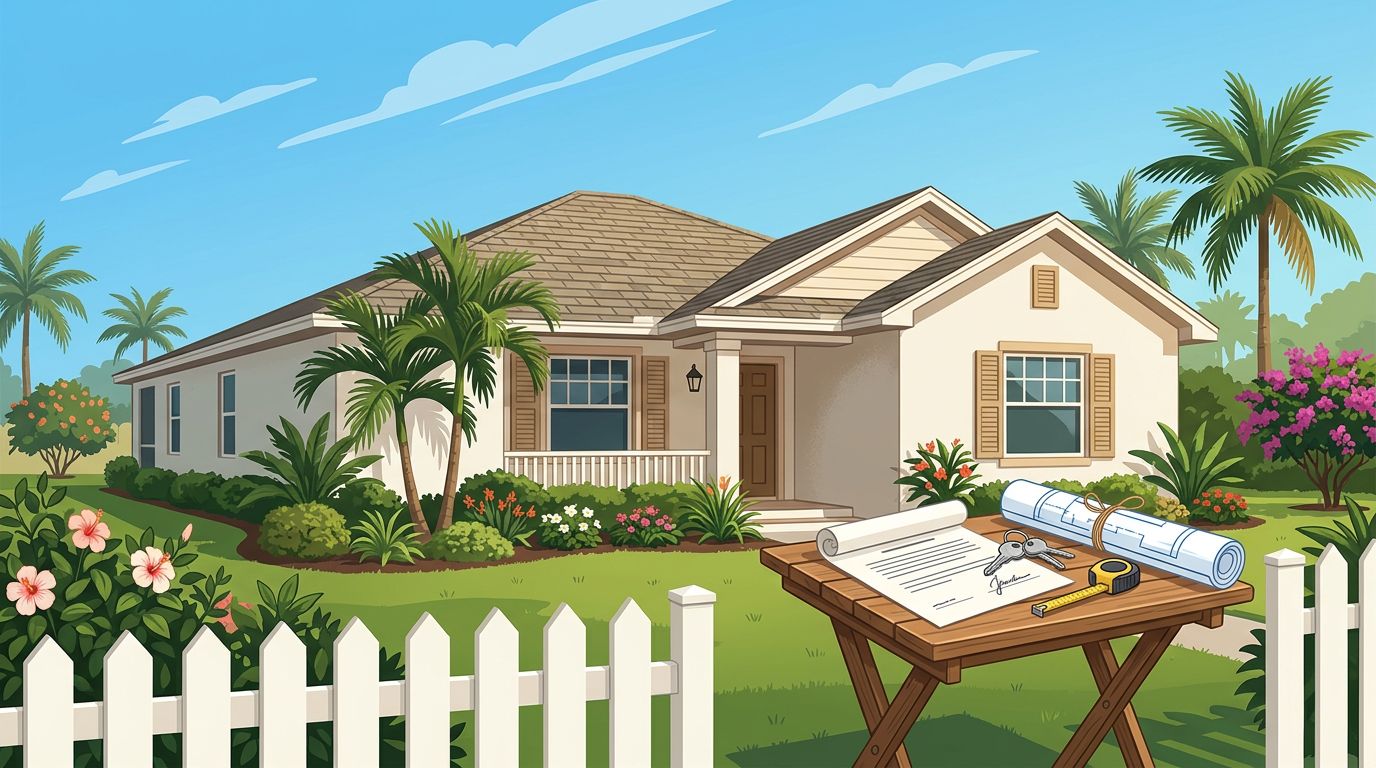
A survey helps here too. If you need help reading corners, bearings, and easements, reading a Florida property survey before fence install can keep the layout honest before work begins.
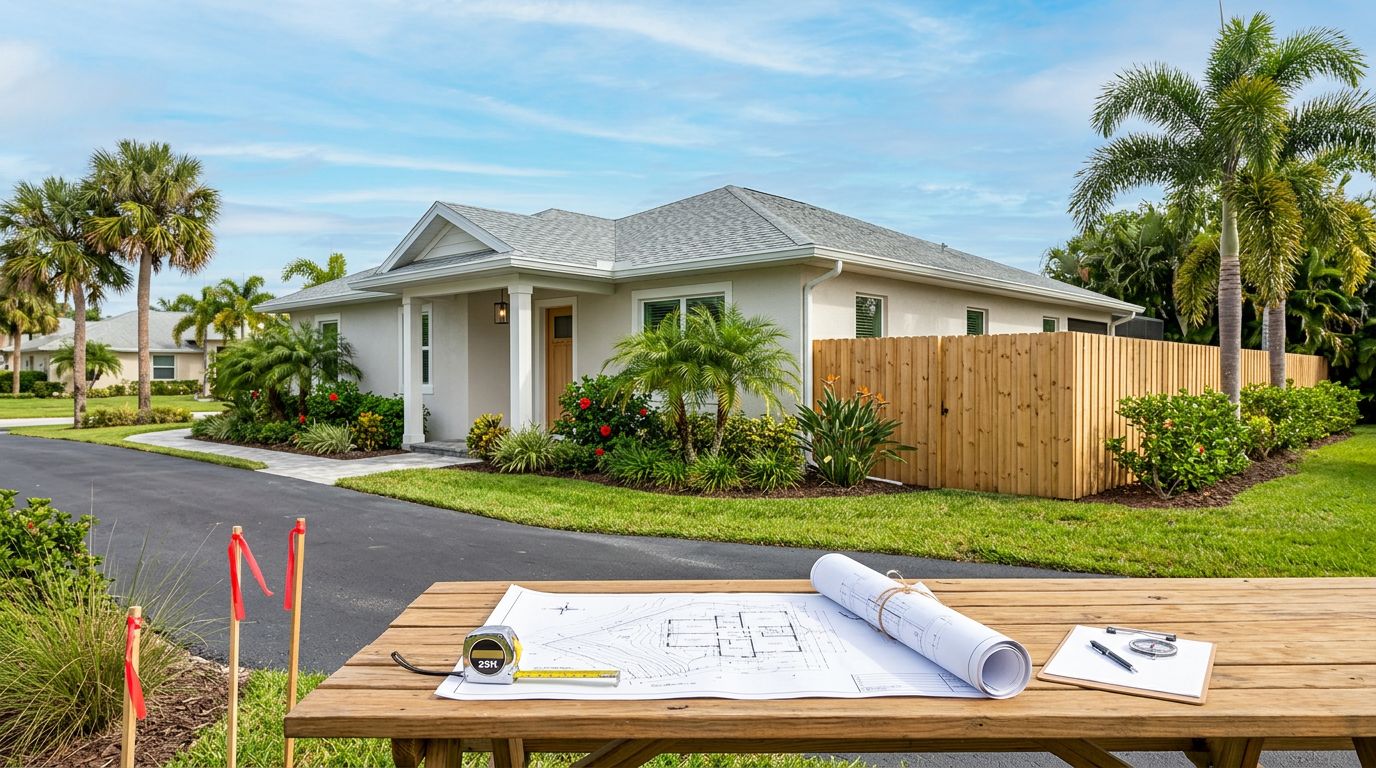
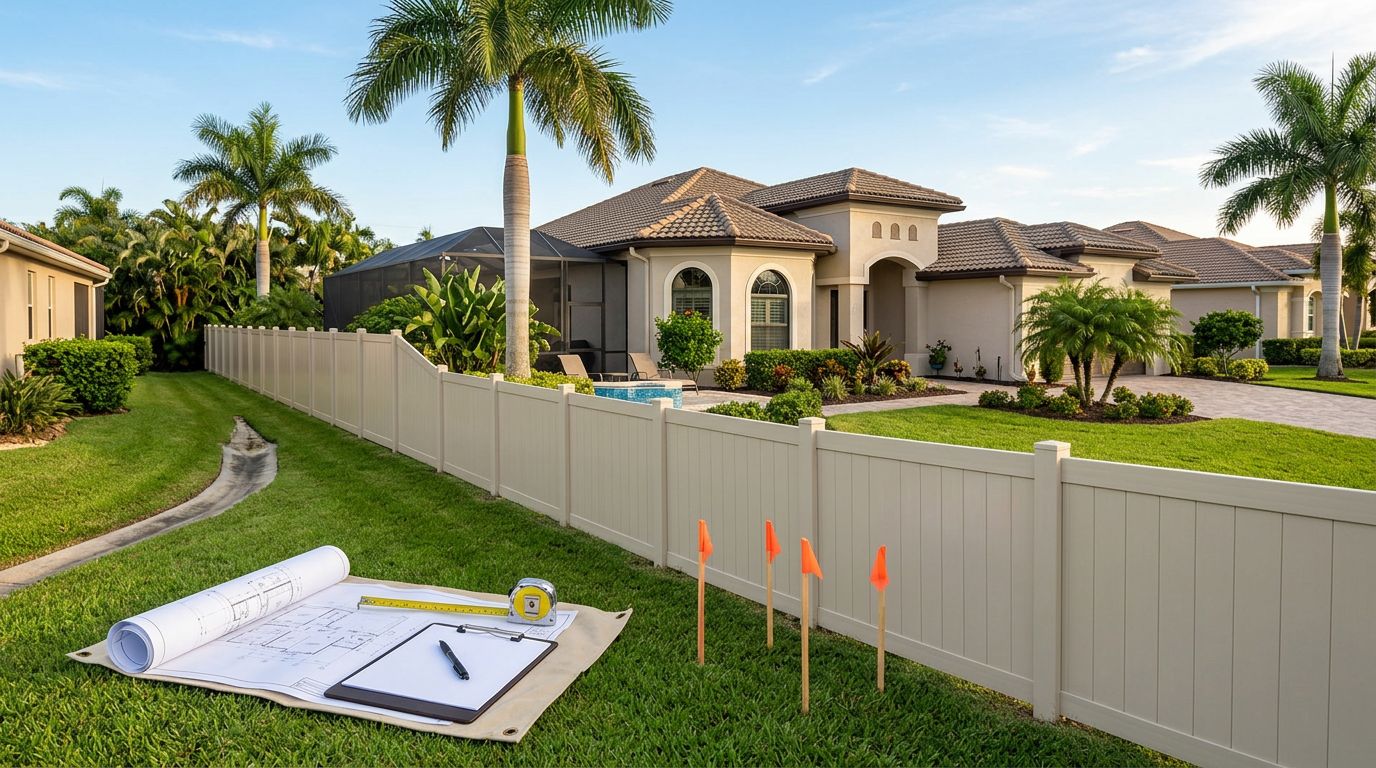
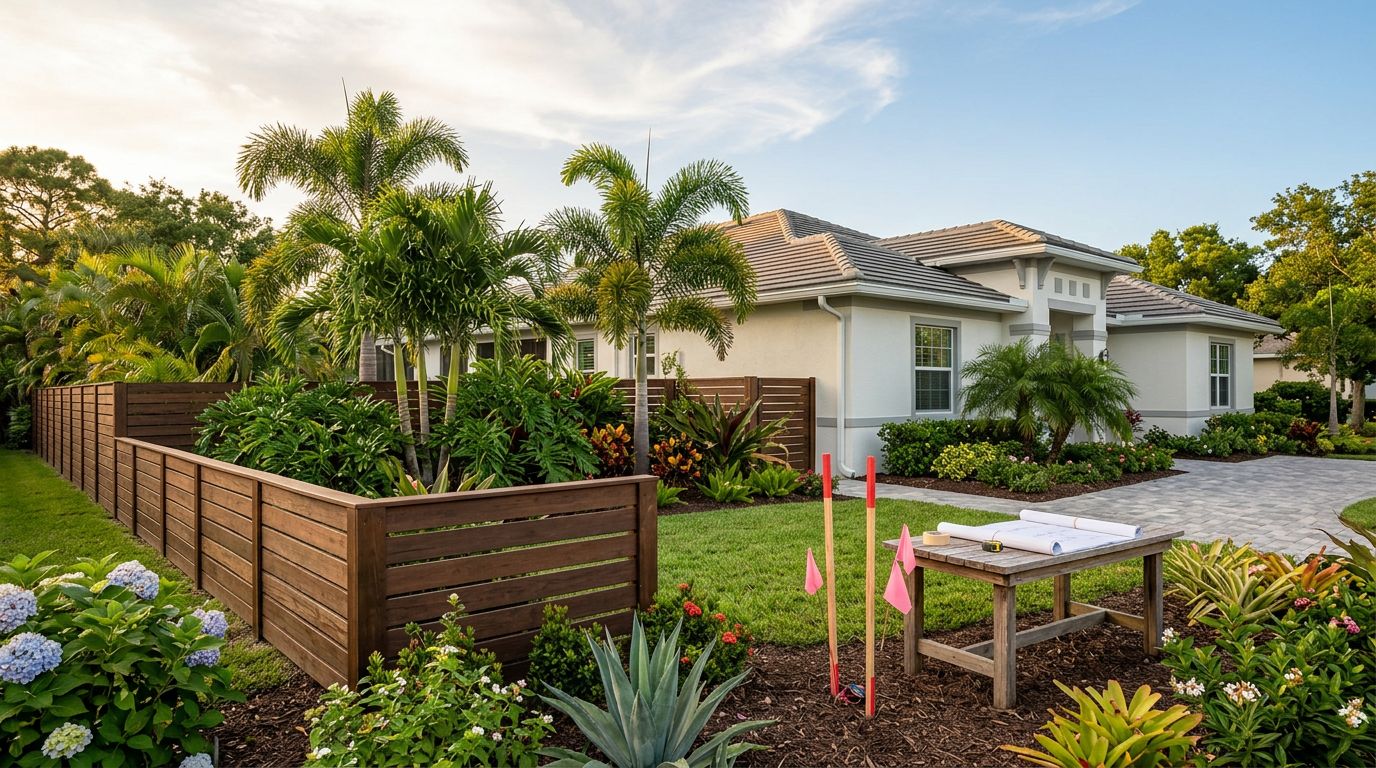
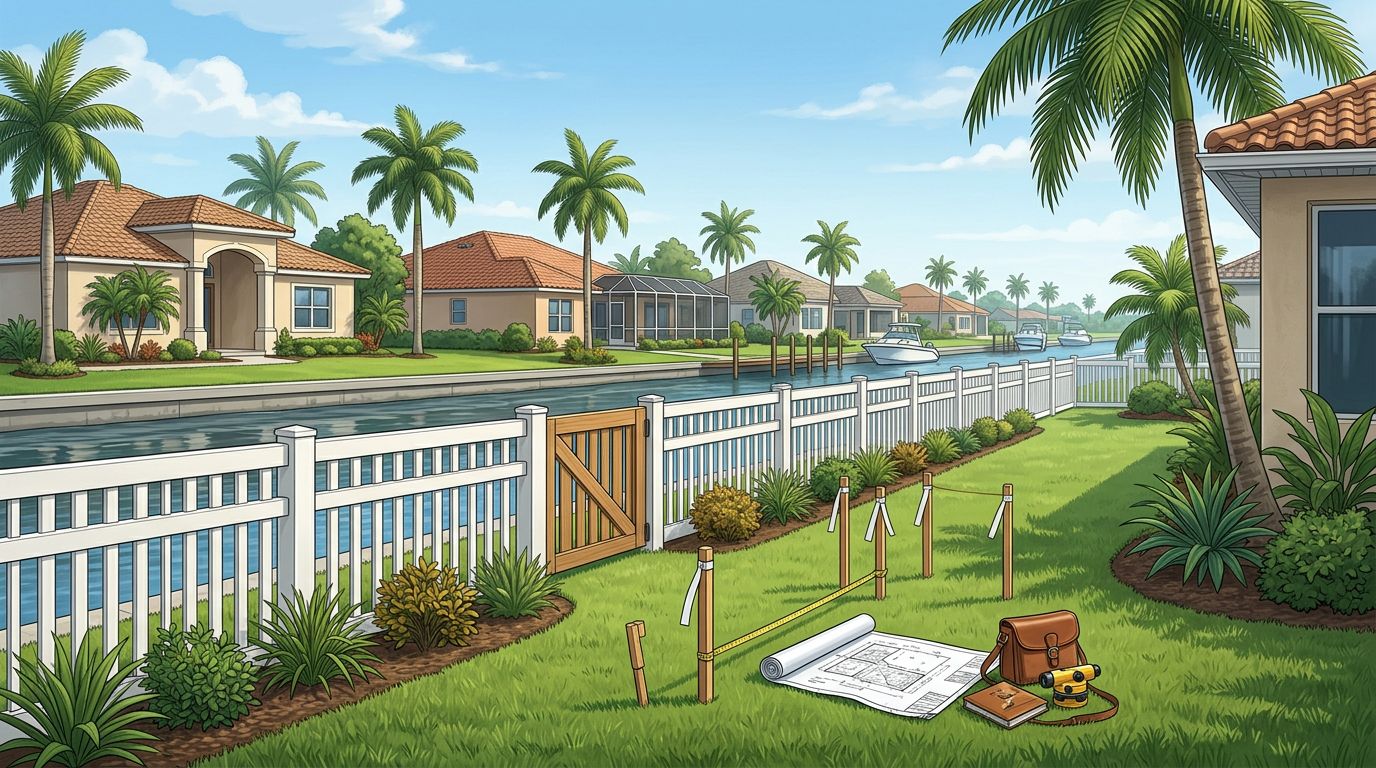
Mark the yard before the first hole is dug
The first smart move is to call 811. Florida law requires it before digging, and it gives you public utility marks to work around. Still, 811 does not mark every private irrigation line, so you need your own yard map too. For a local step-by-step reference, Cape Coral 811 utility locate guide before digging fence posts is a useful starting point.
811 helps with public utilities, but sprinkler lines on private property still need a separate check.
Walk the yard with flags or paint and mark every sprinkler head you can find. Run each zone and watch where the water reaches. That helps you spot hidden heads, weak spray, leaks, and spots where the bed edge changes the line.
Also, check the property corners before you settle on post locations. A fence that drifts even a little can land on top of a valve box or place a gate where irrigation access is needed. If the line feels tight, move the fence a few inches now instead of fixing broken pipe later.
This step matters even more in yards with thick landscaping. Hedges, palms, and groundcover can hide spray zones and shallow fittings. In other words, if you cannot see the full system, do not assume the line is clear.
Coordinate the fence crew and irrigation contractor
Fence work goes smoother when the right people talk before anyone shows up. The fence installer should know where the irrigation runs, and the irrigation tech should know where posts, gates, and footings are planned. If each crew works from a different guess, the yard pays for it.
Before install day, agree on who handles each part of the job. One person should mark sprinkler heads. Someone else should note valve boxes, controller wires, and drip lines. If a head needs to be moved or capped, that should happen before post holes start.
Use a simple yard prep checklist so nothing gets missed. How to prepare your yard for fence installation day covers the kind of cleanup and marking that keeps a job on track.
A good plan usually includes clear access around gates and service boxes. It also leaves room for future maintenance. If a valve box gets buried behind a fence panel, the fix may be cheap on install day and annoying for years after.
Local conditions matter here too. Soft sand makes it easy to damage pipes, and heavy rain can wash away the small stakes that mark them. That is why clear paint marks, flags, and a shared layout are better than memory alone.
Test the irrigation system after the fence goes in
Once the fence is finished, every irrigation zone should be tested. Run the system one zone at a time and walk the full fence line. Look for broken spray patterns, leaks at the base of new posts, and wet soil that did not exist before.
Pay close attention to valve boxes and areas near new gates. A pinched line may still work for a while, then fail after the next storm or the next mower pass. If a zone loses pressure, stop and inspect it right away.
After the first heavy rain, check the line again. Southwest Florida weather can expose a problem you did not see on install day. A patch of sinking soil, a muddy corner, or a head that sprays directly on the fence should be corrected fast.
This is also the time to adjust spray direction. Wood fences need extra protection from constant wetting, and even vinyl or aluminum fences last longer when the base stays dry. Small changes to nozzle angle can prevent repeated soaking along the fence line.
Conclusion
Fence and sprinkler line conflicts are easy to create and easy to avoid. The fix starts with a good layout, clear markings, and a full system test after the fence is built.
In Southwest Florida, sandy soil and frequent rain raise the stakes, so guesswork is expensive. A careful plan protects the fence, the irrigation system, and the rest of the yard.