How to Measure Your Yard for a Fence Estimate
A fence estimate can look simple until the numbers start changing. A few feet here, a gate there, and the price moves fast.
If you measure the yard the right way, the quote is easier to compare and less likely to shift later. You'll also spot issues early, like uneven ground, tight corners, or a gate that needs extra support.
Start with the right tools and a clean layout
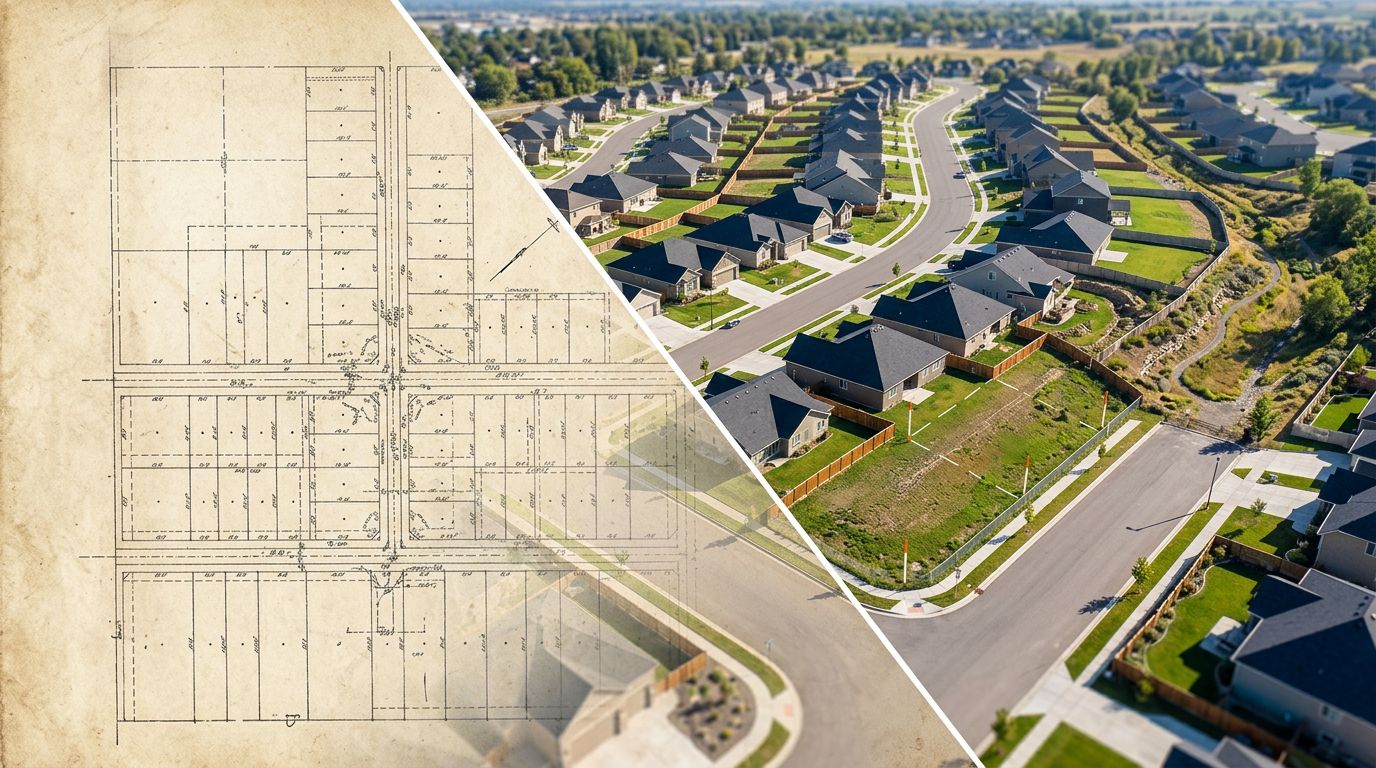
Before you measure, get a basic view of your property. A survey, plat, or site sketch gives you a starting point, and it helps you avoid guessing where the fence should go.
You do not need fancy gear. You need clear notes and a steady method.
Gather these items before you begin:
- A copy of your survey or site plan, if you have one.
- A tape measure, measuring wheel, or laser measure for longer runs.
- A notebook or phone app for recording each side.
- White flags, chalk, or marking paint to show the planned fence line.
- Photos of problem spots, such as slopes, trees, or pool areas.
If you're in Cape Coral and want a local checklist before you build, the Cape Coral fence permit checklist for 2026 is a useful reference.
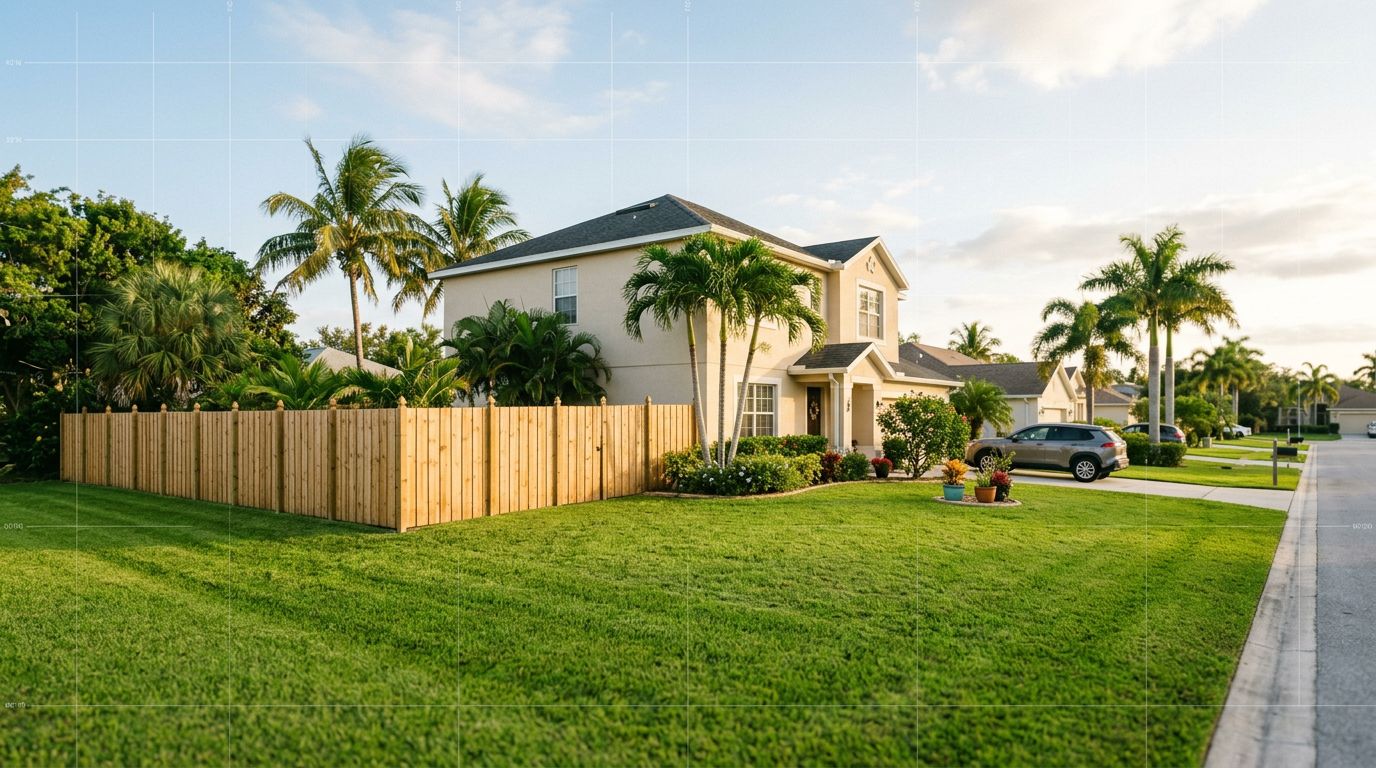
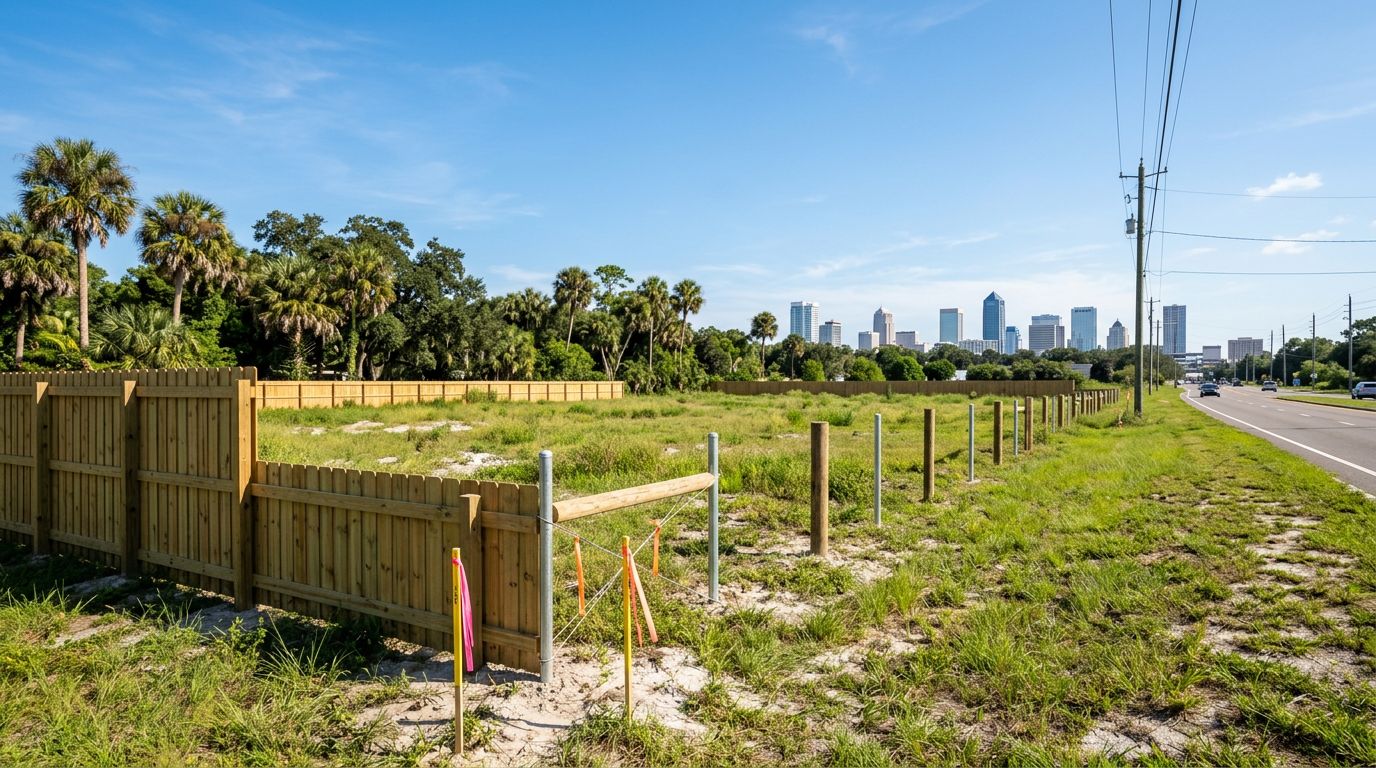
Measure the fence line, not the size of the lawn. Contractors price linear footage , so square footage won't give you a clean estimate.
Before you put a tape on the ground, check your property line and any local rules that may affect layout. If you plan to mark where posts will go, a Cape Coral 811 utility locate guide before digging fence posts can help you plan around underground utilities.
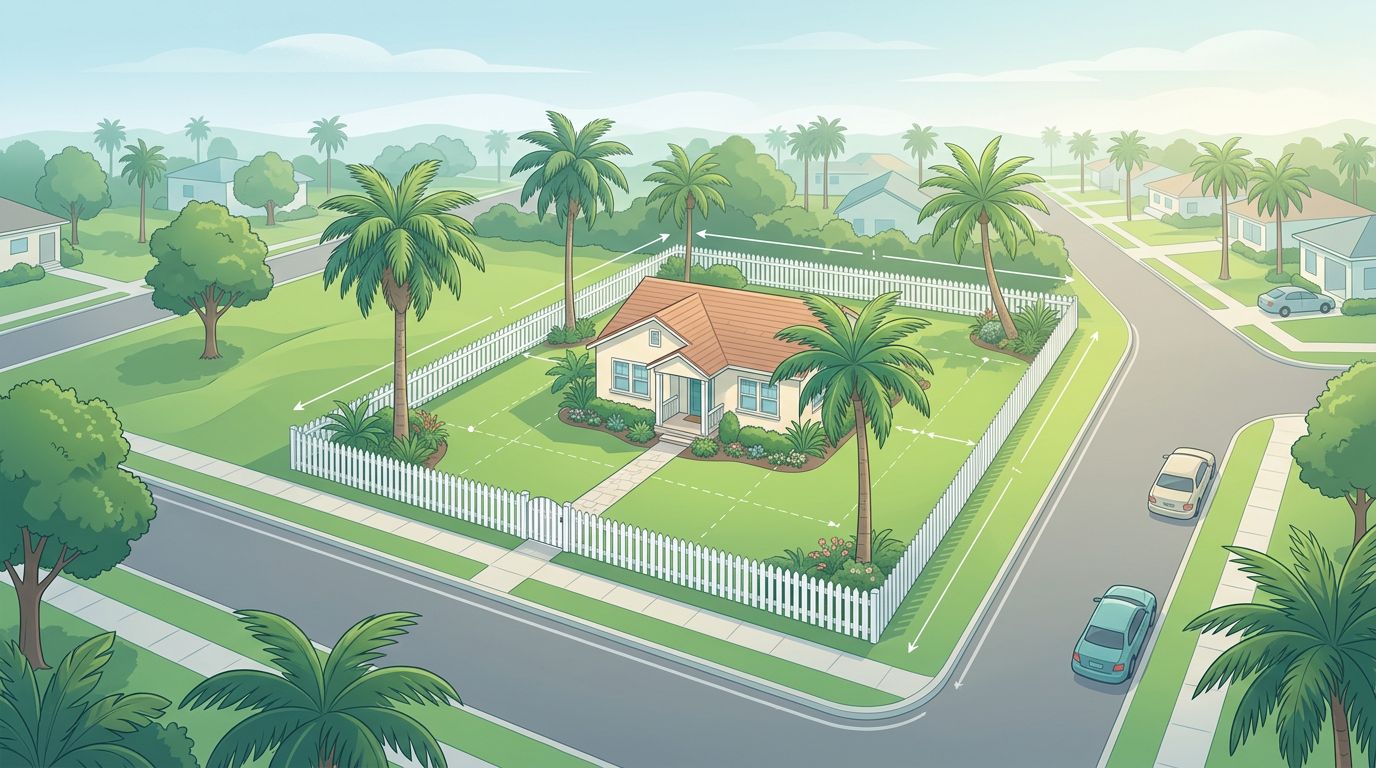
Measure the total linear footage, side by side
The main number a contractor needs is the total fence run in feet. That means the full length of every side you want fenced, added together.
Walk the perimeter one side at a time. Record each fence section as its own line item. If the yard is simple, this takes only a few minutes. If it has angles or curves, break it into smaller straight sections.
Here's a quick way to think about it.
| Yard layout | How to measure it |
|---|---|
| Rectangle | Measure each side that will get fence, then add the totals. |
| L-shape | Split the yard into sections and measure each outside edge. |
| Curved edge | Measure it in short straight parts and note the curve. |
| Partial fence | Measure only the sides that need new fence. |
A contractor can work with a clean total, but the side-by-side numbers matter too. They show where the fence turns, and they make the layout easier to price.
For example, if a backyard has two 40-foot sides and one 60-foot back run, the fence total is 140 feet. If the house covers one side, don't include that wall in the total. Only measure the fence path.
Try to write your notes in order, starting at one corner and moving around the yard. That keeps the sketch easy to read. It also helps when you compare bids later, because every contractor sees the same layout.
Count gates and openings carefully
Gate openings change the cost more than many homeowners expect. A gate needs hardware, extra framing, and careful placement. That is true for a small walk gate and even more true for a wide drive gate.
Measure the clear opening you want, then note what will use it. A 4-foot gate for people is different from a 10-foot opening for a mower, trailer, or wheelbarrow. If you need both, write both down.
When you plan gates, record these details:
- The number of gates you want.
- The width of each gate opening.
- Where each gate should sit on the fence line.
- Whether the gate swings in or out.
- Any reason the gate needs extra width, such as trash bins or lawn tools.
A simple example helps. If you want one 4-foot walk gate on the side yard and one 12-foot double gate at the driveway side, that should be on your sketch. Those openings affect material, labor, and hardware.
Also note where a gate should not go. Sometimes a gate looks fine on paper but lands too close to a tree, a driveway edge, or a tight corner. A contractor can spot that early if you give them clear notes.
Record terrain changes and yard conditions
A yard can look flat until you start measuring it. Small slopes, low spots, and drainage areas can change the fence design.
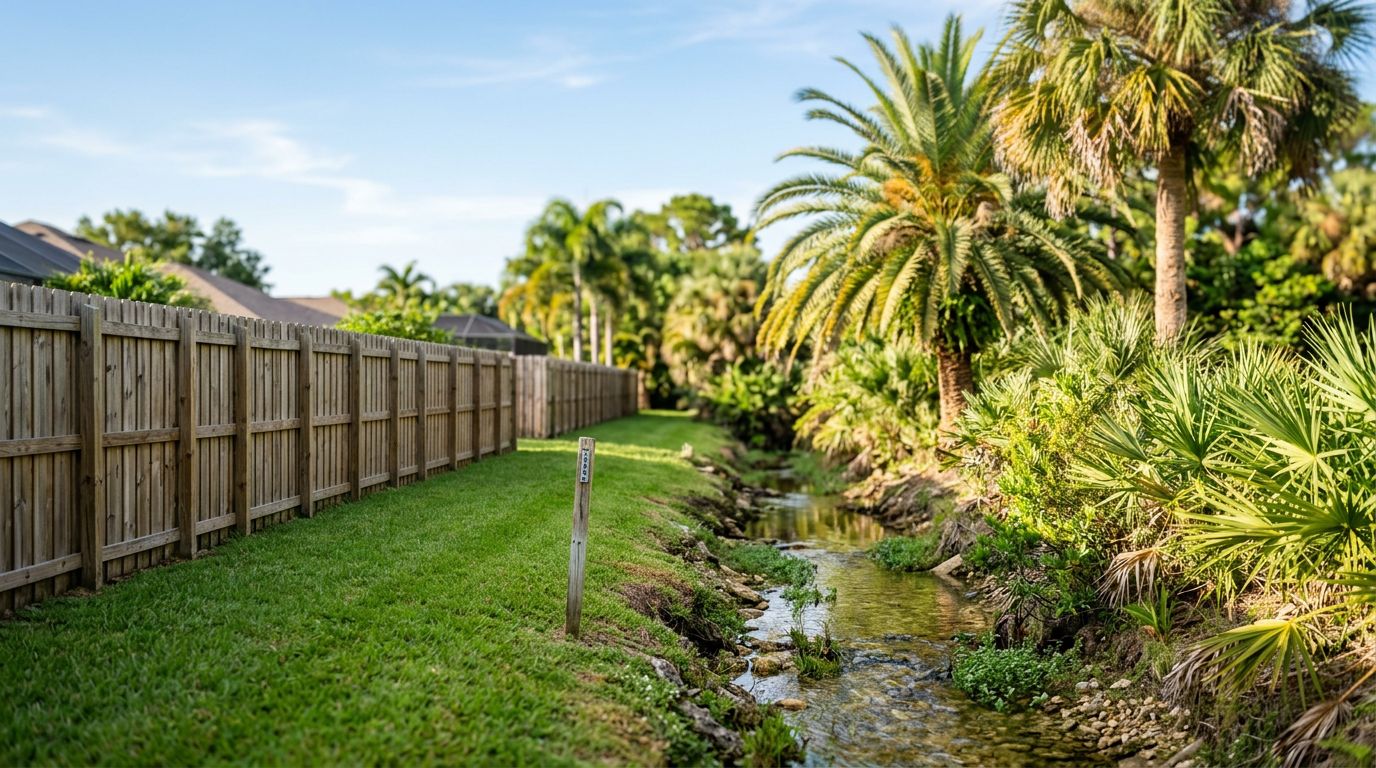
Write down any place where the ground shifts. That includes sloping backyards, dips near canals or swales, raised edges, and spots where water sits after rain. A fence that crosses a slope may need stepped panels or adjusted post depth.
Take note of hard or soft ground too. Sandy soil, tree roots, old concrete, buried rock, and thick landscaping can all affect installation. So can tight spaces around patios, lanais, sheds, or pool equipment.
Use your phone to take photos of anything that may slow the job. A few clear pictures from different angles are better than a long description.
If you want a clean estimate, tell the contractor about these details before they quote the job:
- Low spots that hold water.
- Slopes that run across the fence line.
- Tree roots or large stumps near the line.
- Concrete pads, pavers, or retaining walls.
- Narrow access for equipment or material delivery.
Those notes help the installer plan post depth, panel layout, and labor time. They also reduce surprises once the work starts.
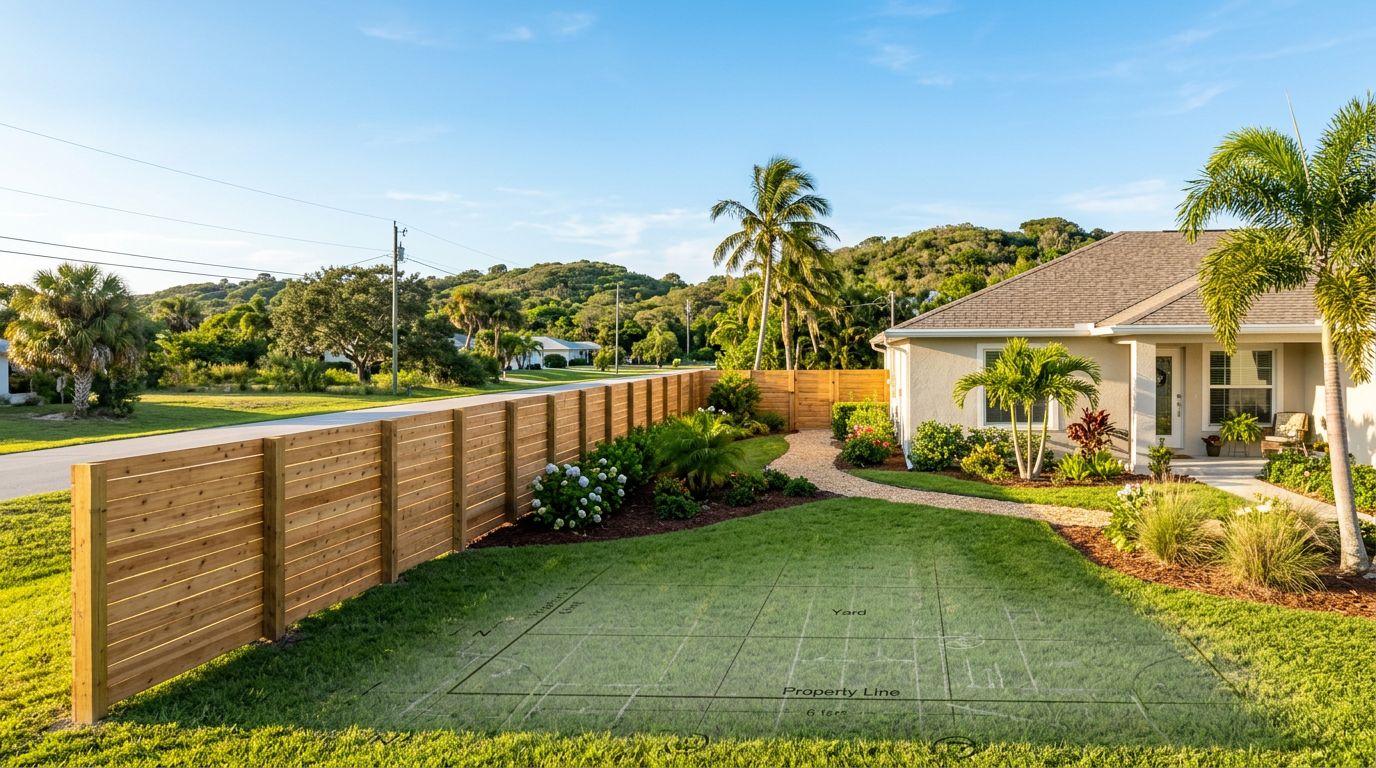
Write down the property features that affect price
The fence line is only part of the story. Other parts of the yard can change the price, too.
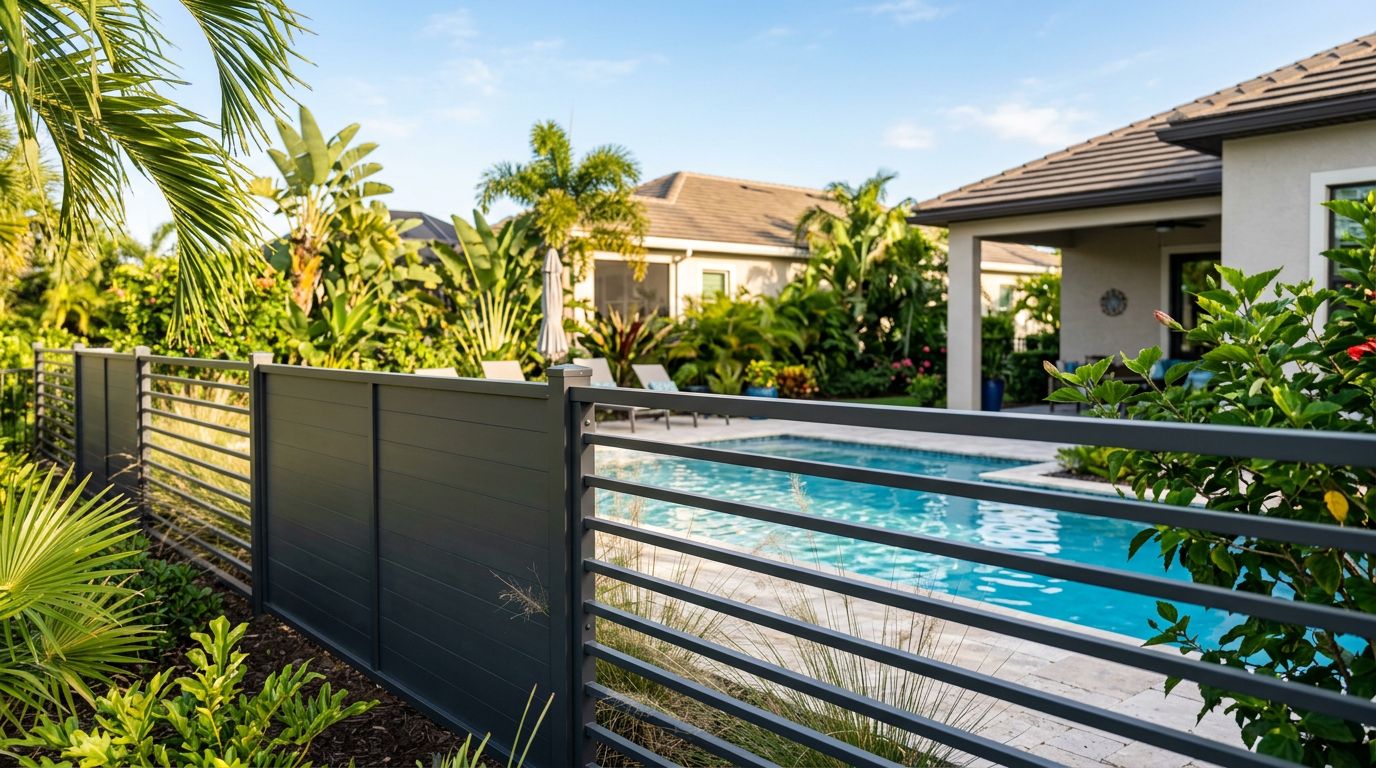
Existing fence removal is one example. If old posts need to come out, that adds labor and cleanup. A fence that runs next to a pool can also need special attention, because gate type and barrier height matter. Landscaping, sprinklers, and hardscape features can shift post placement or make the work slower.
Corner lots deserve extra attention. So do properties near drainage areas, easements, or shared boundaries. You don't need to solve those issues yourself, but you do need to flag them on your sketch.
A few details to record before you request an estimate:
- Trees, shrubs, or palms close to the fence line.
- Sprinkler heads, irrigation boxes, or visible utility covers.
- Pool areas, patio screens, and outdoor enclosures.
- Driveways, sidewalks, and places where a fence must stop.
- Any fence sections that need demolition first.
If you live in Cape Coral, a local resource like the Cape Coral fence permit checklist for 2026 can help you spot items that often come up during planning, such as gate placement, height limits, and site layout.
Just as important, check your survey and any local requirements before you lock in the design. That keeps the estimate tied to the actual job, not a rough guess.
Put your yard notes into one clear estimate request
Once you've measured the fence line, counted the gates, and written down the problem spots, put everything in one place. A neat sketch and a few photos save time for both you and the contractor.
Send the following with your request:
- A simple drawing with each fence side labeled.
- The total linear footage, plus each side length.
- Gate locations and widths.
- Photos of slopes, trees, pool areas, or tight access points.
- Any notes about removing an old fence or working around hardscape.
If you want to compare bids with less confusion, how to compare fence quotes in Cape Coral is a good next read. A quote is easier to judge when every contractor prices the same layout.
The best estimate comes from clear numbers. It also comes from clear conditions. When both are in the request, the quote is more likely to match the finished fence.
Conclusion
A solid yard fence estimate starts with a good measurement, not a guess. Measure the linear footage, mark every gate, and note slopes, trees, utility areas, and other features that change the job.
Check your property line and local requirements before you move forward. That small step can save time, cut down on revisions, and make the estimate easier to trust.
When the layout is clear, the numbers make sense. That's the kind of start every fence project needs.