How to Replace a Wood Fence Post Cap in Florida
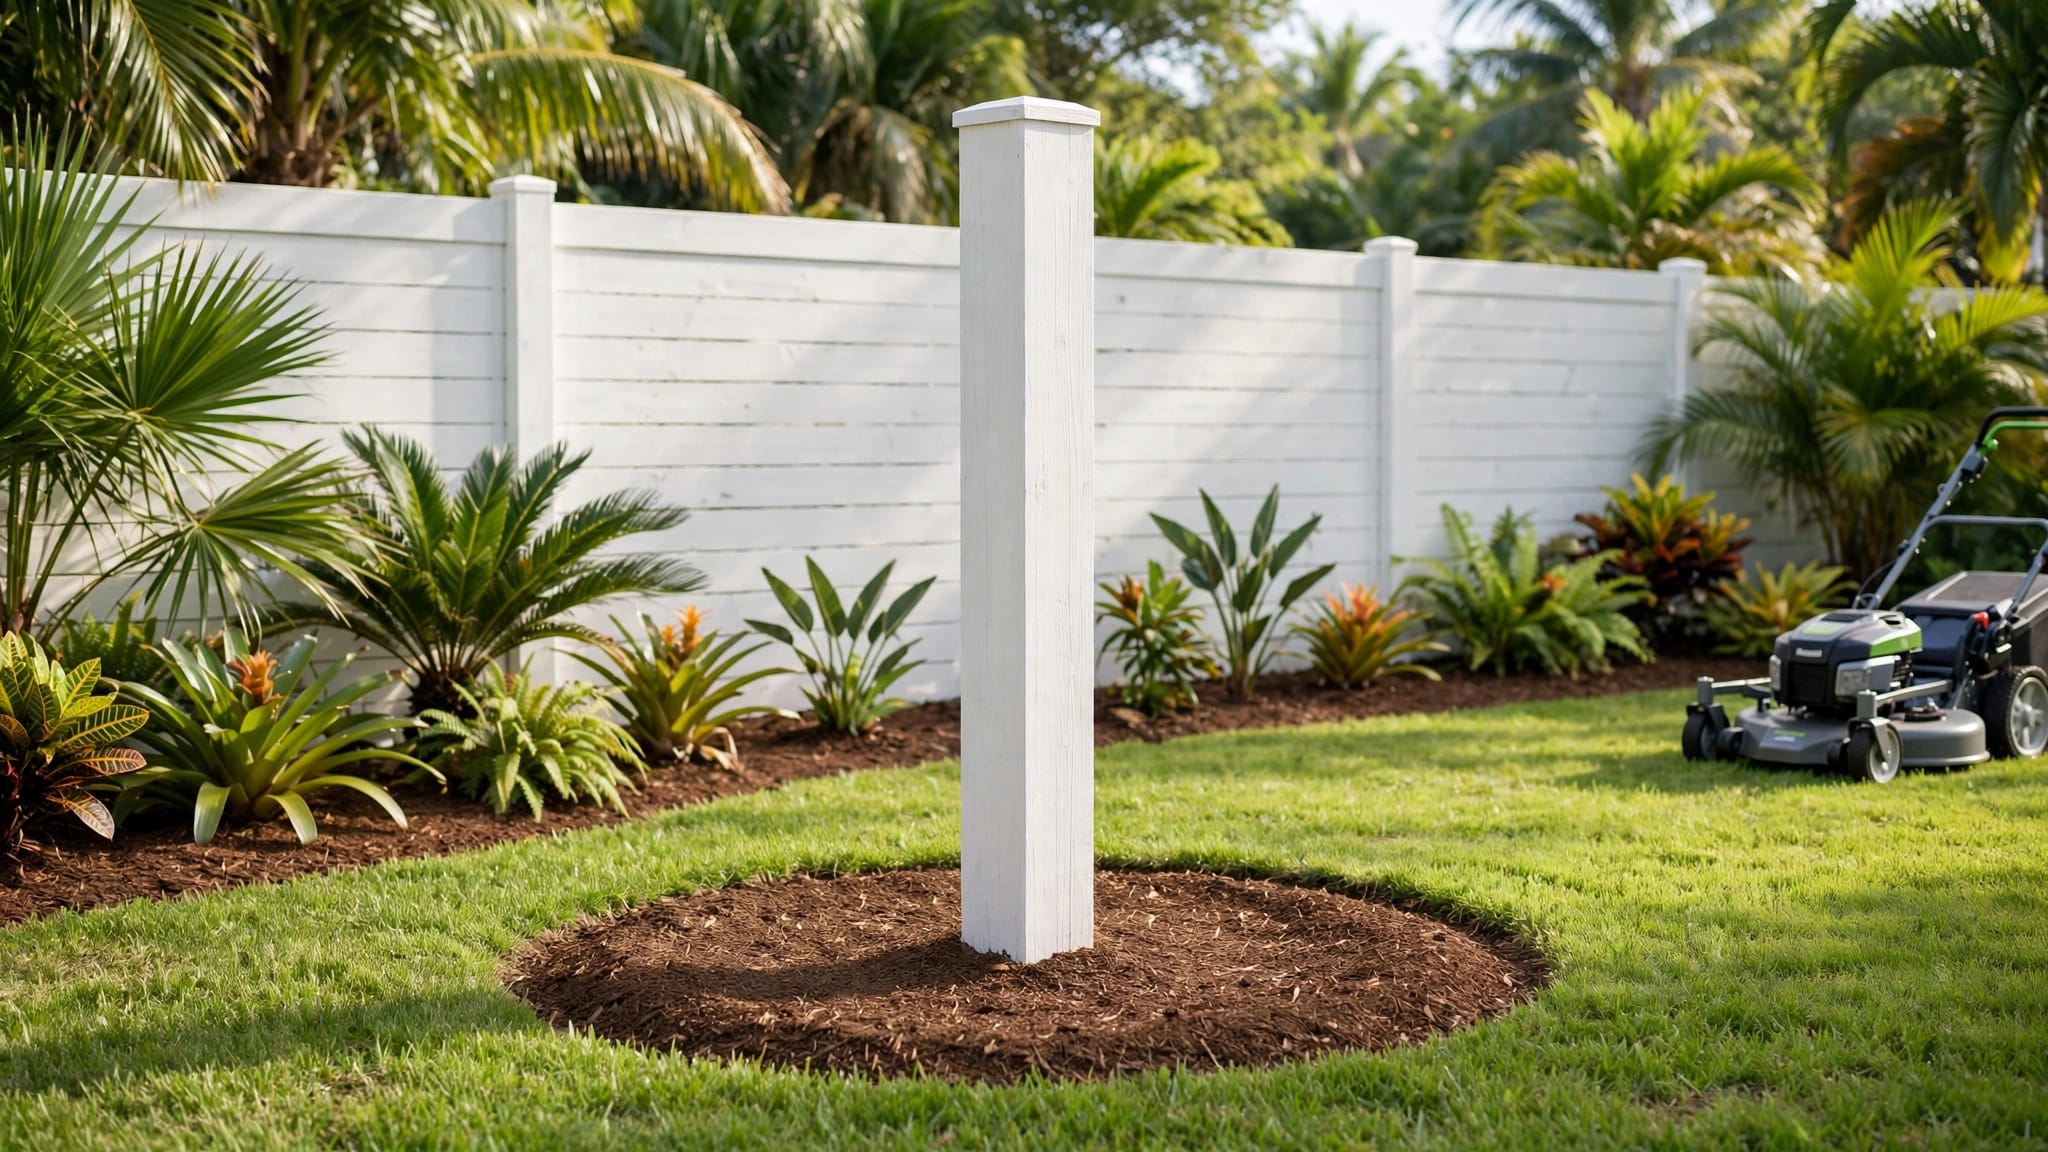
To replace a wood fence post cap, remove the damaged cap, inspect the wood underneath, and install a properly sized replacement on a sound post. Protecting the exposed wood from moisture is an important part of the job.
In Southwest Florida, heavy rain, humidity, and strong sun can wear down both the cap and the post beneath it. A careful inspection helps you spot damage that a new cap alone won't fix.
Start by looking at the cap and the fence around it.
When a Wood Fence Post Cap Needs Replacement
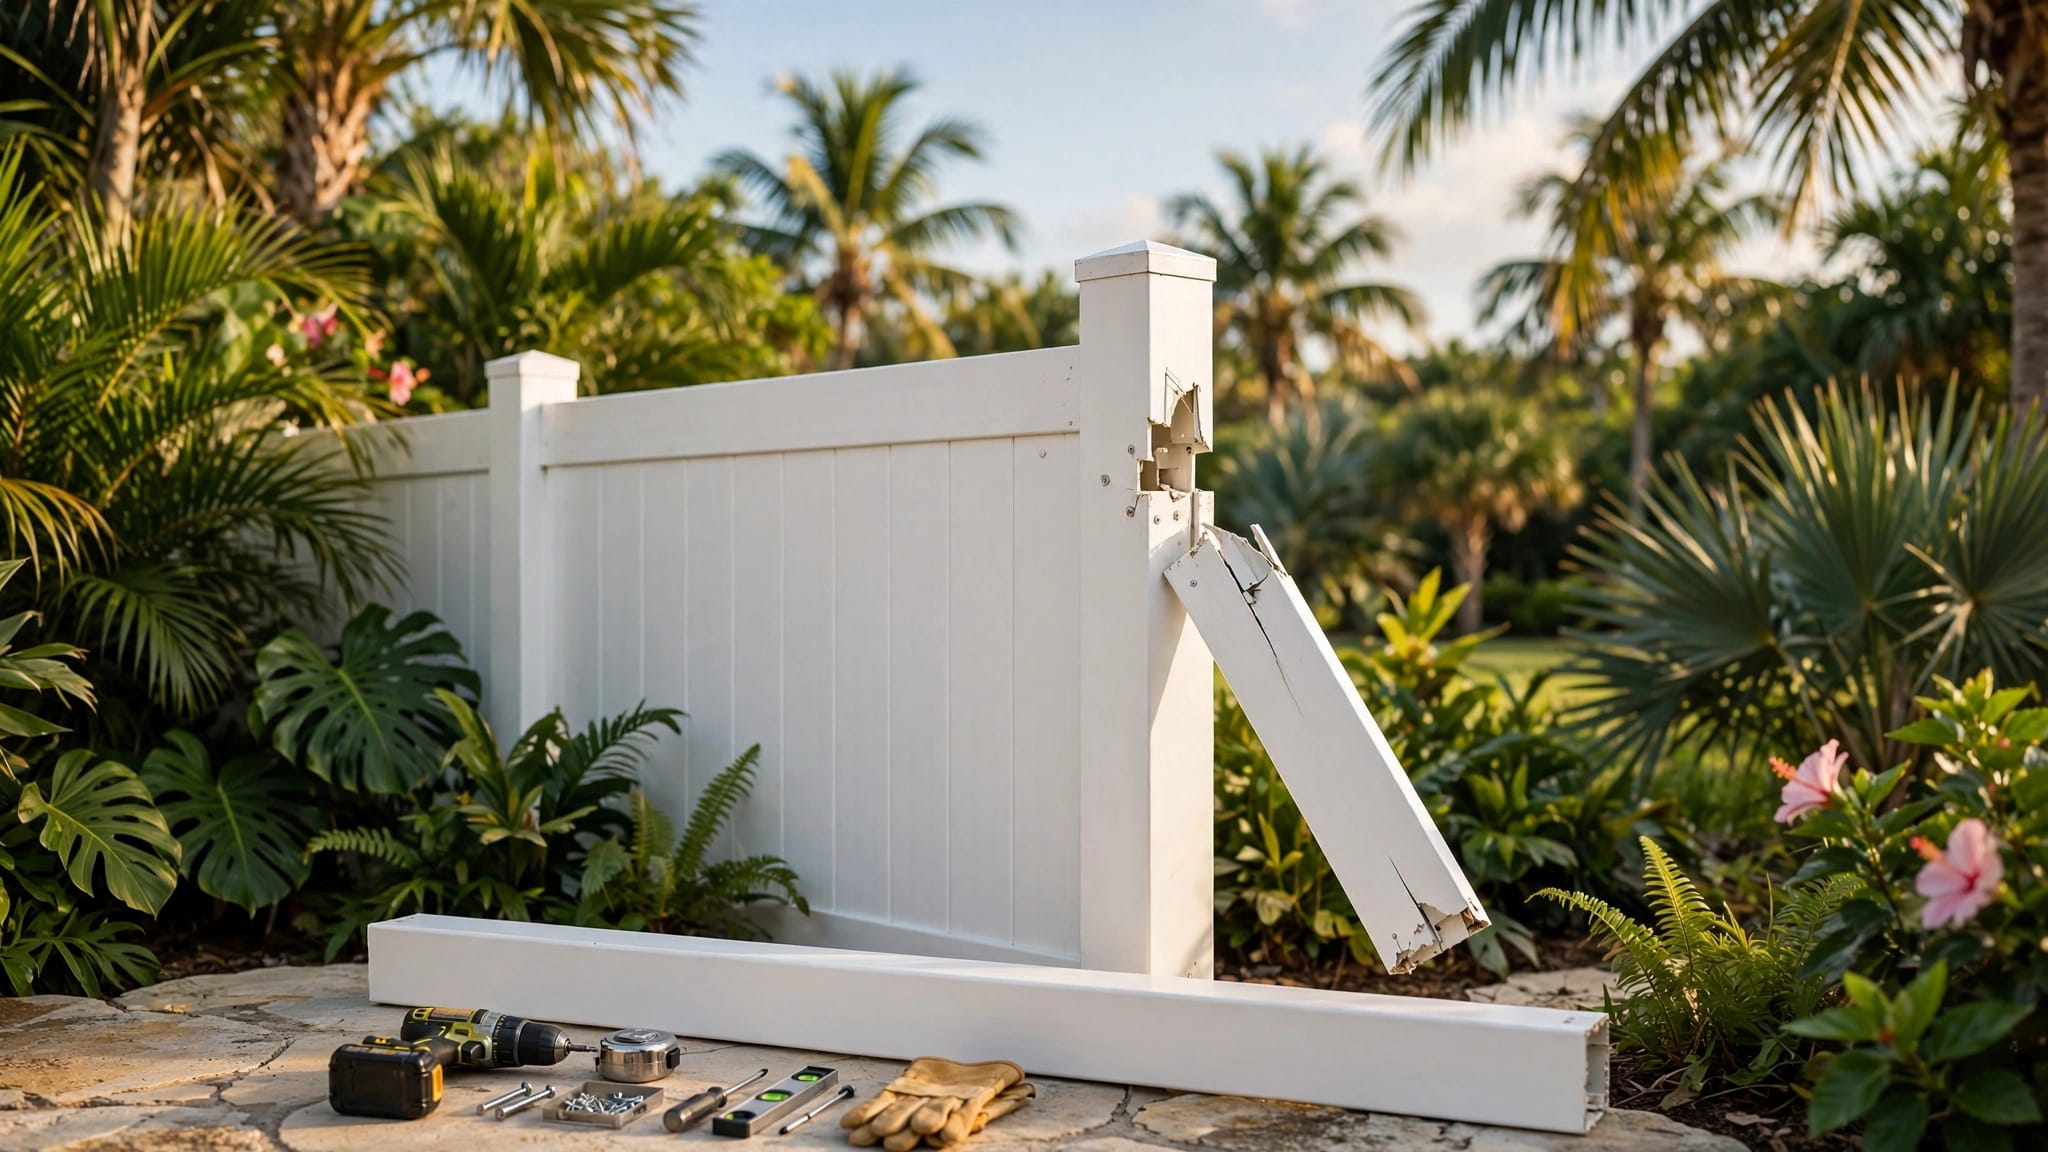
A cap that has cracked, split, or come loose can expose the top of the post to rain. Replace it when pieces are missing, the cap no longer stays in position, or its surface has deteriorated enough to hold water.
Wood caps can also develop raised grain or small surface cracks as they age. Those signs don't always mean the entire post has failed, but they do give you a reason to inspect the area underneath.
Look along the rest of the fence, too. If several caps show the same wear, you may want to replace them together so the fence has consistent protection and appearance.
After a storm, pay attention to more than the cap itself. A post that leans or moves along with the rails may have damage below the surface. Our guide to post-storm fence inspection and repair covers warning signs that extend beyond the post top.
Why Florida Weather Is Hard on Fence Posts
A cap helps shield the exposed top of a wood post, where rain can reach the end grain. That protection matters in Southwest Florida, where a fence may face repeated downpours followed by hot sun.
Rain and humidity affect the wood
Wood absorbs and releases moisture as conditions change. When it gets wet, it expands; as it dries, it contracts. Most movement happens across the grain.
Repeated wetting and drying can widen existing splits and loosen connections around the fence. Humid air can also slow drying, especially where plants or overlapping boards restrict airflow.
Sprinklers add another source of moisture. Even between storms, a post that gets sprayed every day may stay damp longer than the rest of the fence.
Strong sun wears down finishes
Direct sunlight can degrade an exterior finish over time. As the coating wears, exposed wood becomes more vulnerable to moisture and surface cracking.
The sunny side of a fence may age differently from the shaded side. Look at both when planning repairs, rather than assuming every post needs the same treatment.
Prepare the Area Before Removing the Cap
Choose a dry period for the work. The post top needs time to dry before you apply a protective finish, and the finish needs suitable weather to cure.
Clear vegetation away from the post so you can see its sides and the surrounding fence connections. If the fence has loose rails or panels, avoid putting pressure on them while you work.
Look for visible damage below the cap before removing it. A post that is split down its length, badly decayed, or unstable may need more than a new cover. In that case, plan for a repair of the post itself before spending time on the cap.
Keep children and pets away from the work area until the damaged pieces have been removed and the repair is complete. Old wood can splinter, and a damaged cap may have sharp edges.
Remove the Cap and Inspect the Post Top
Remove the damaged cap carefully, without gouging the wood beneath it. Once it is off, clear away loose debris so you can see the whole post top and its edges.
Look for sound wood and surface damage
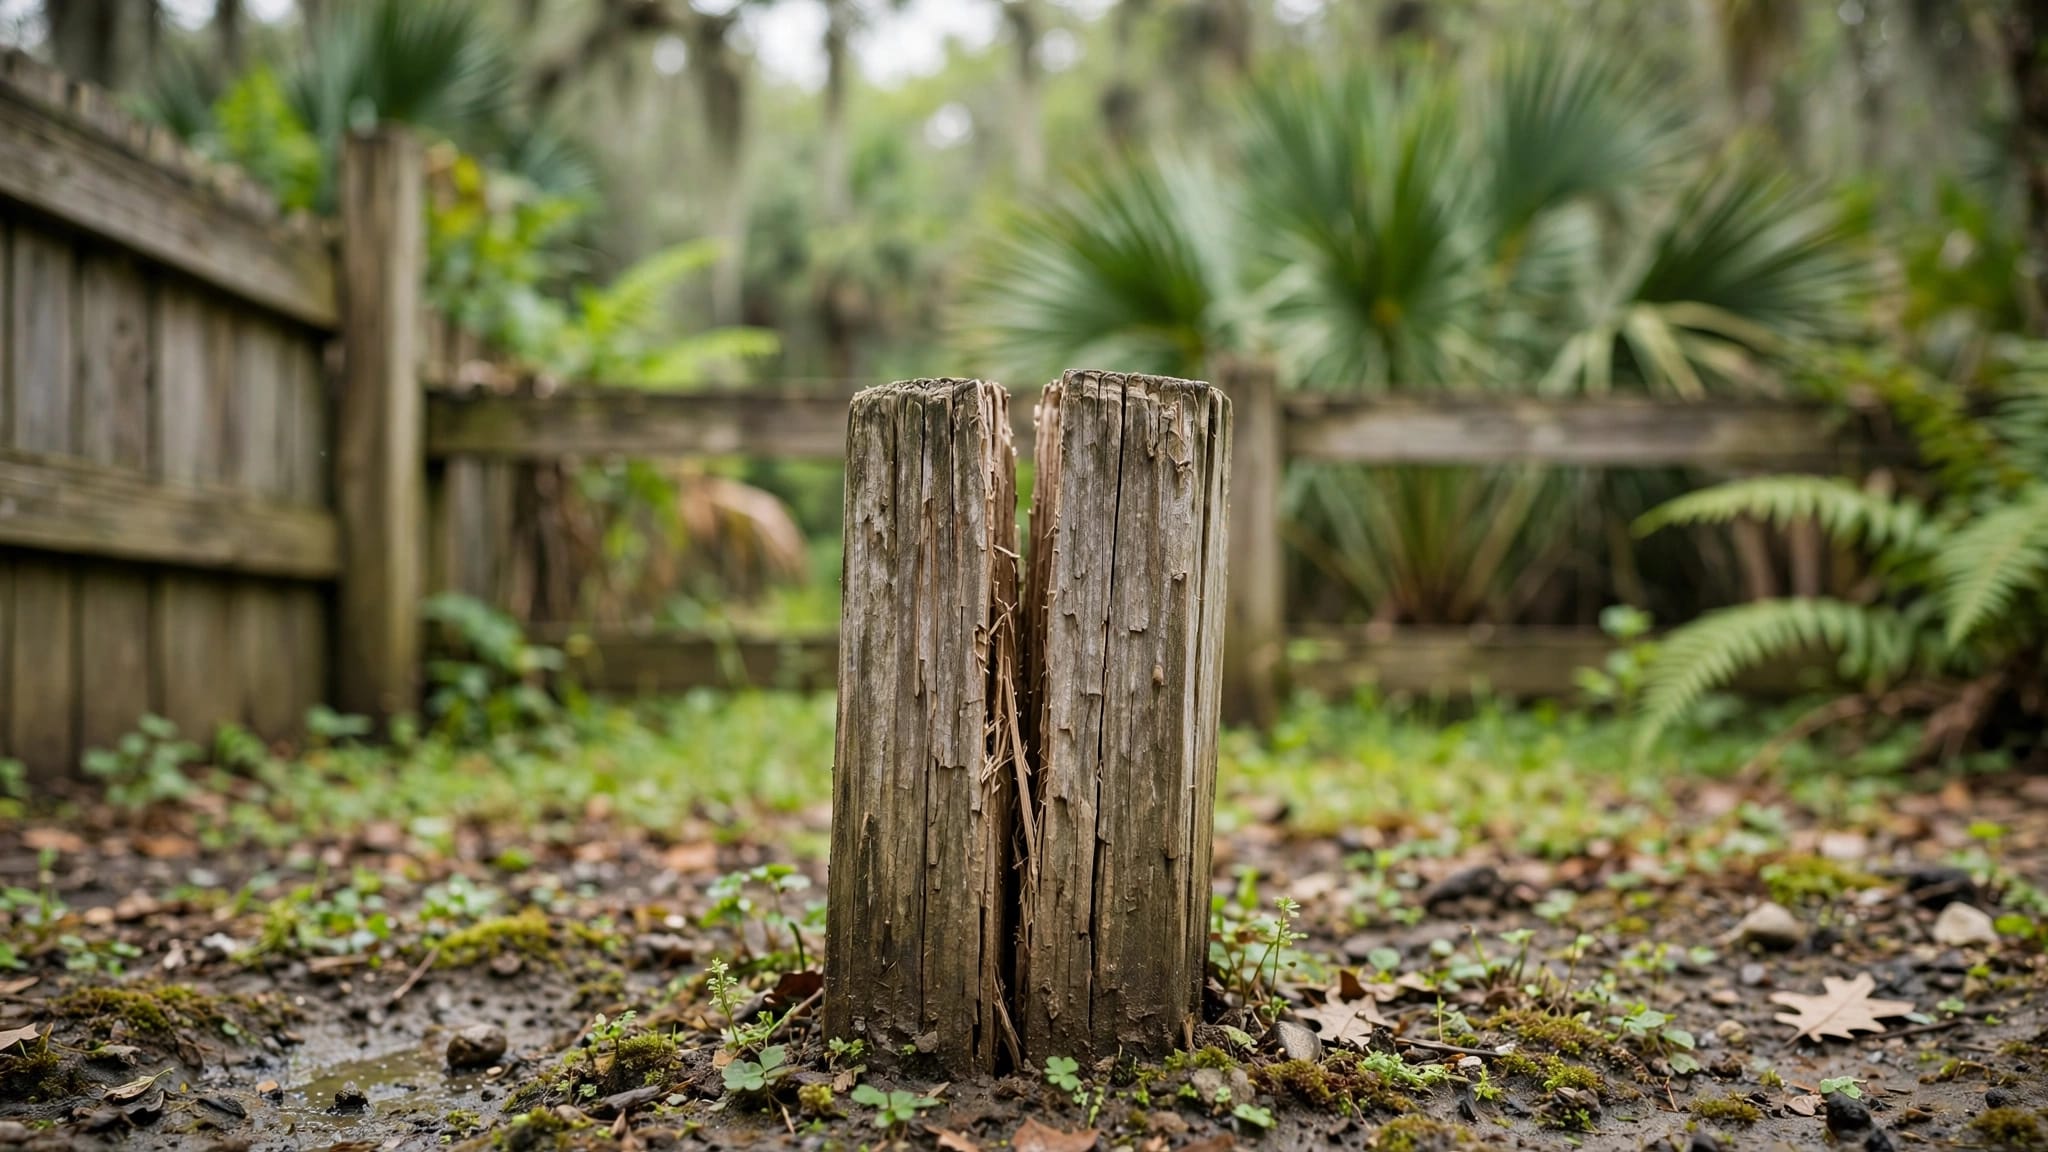
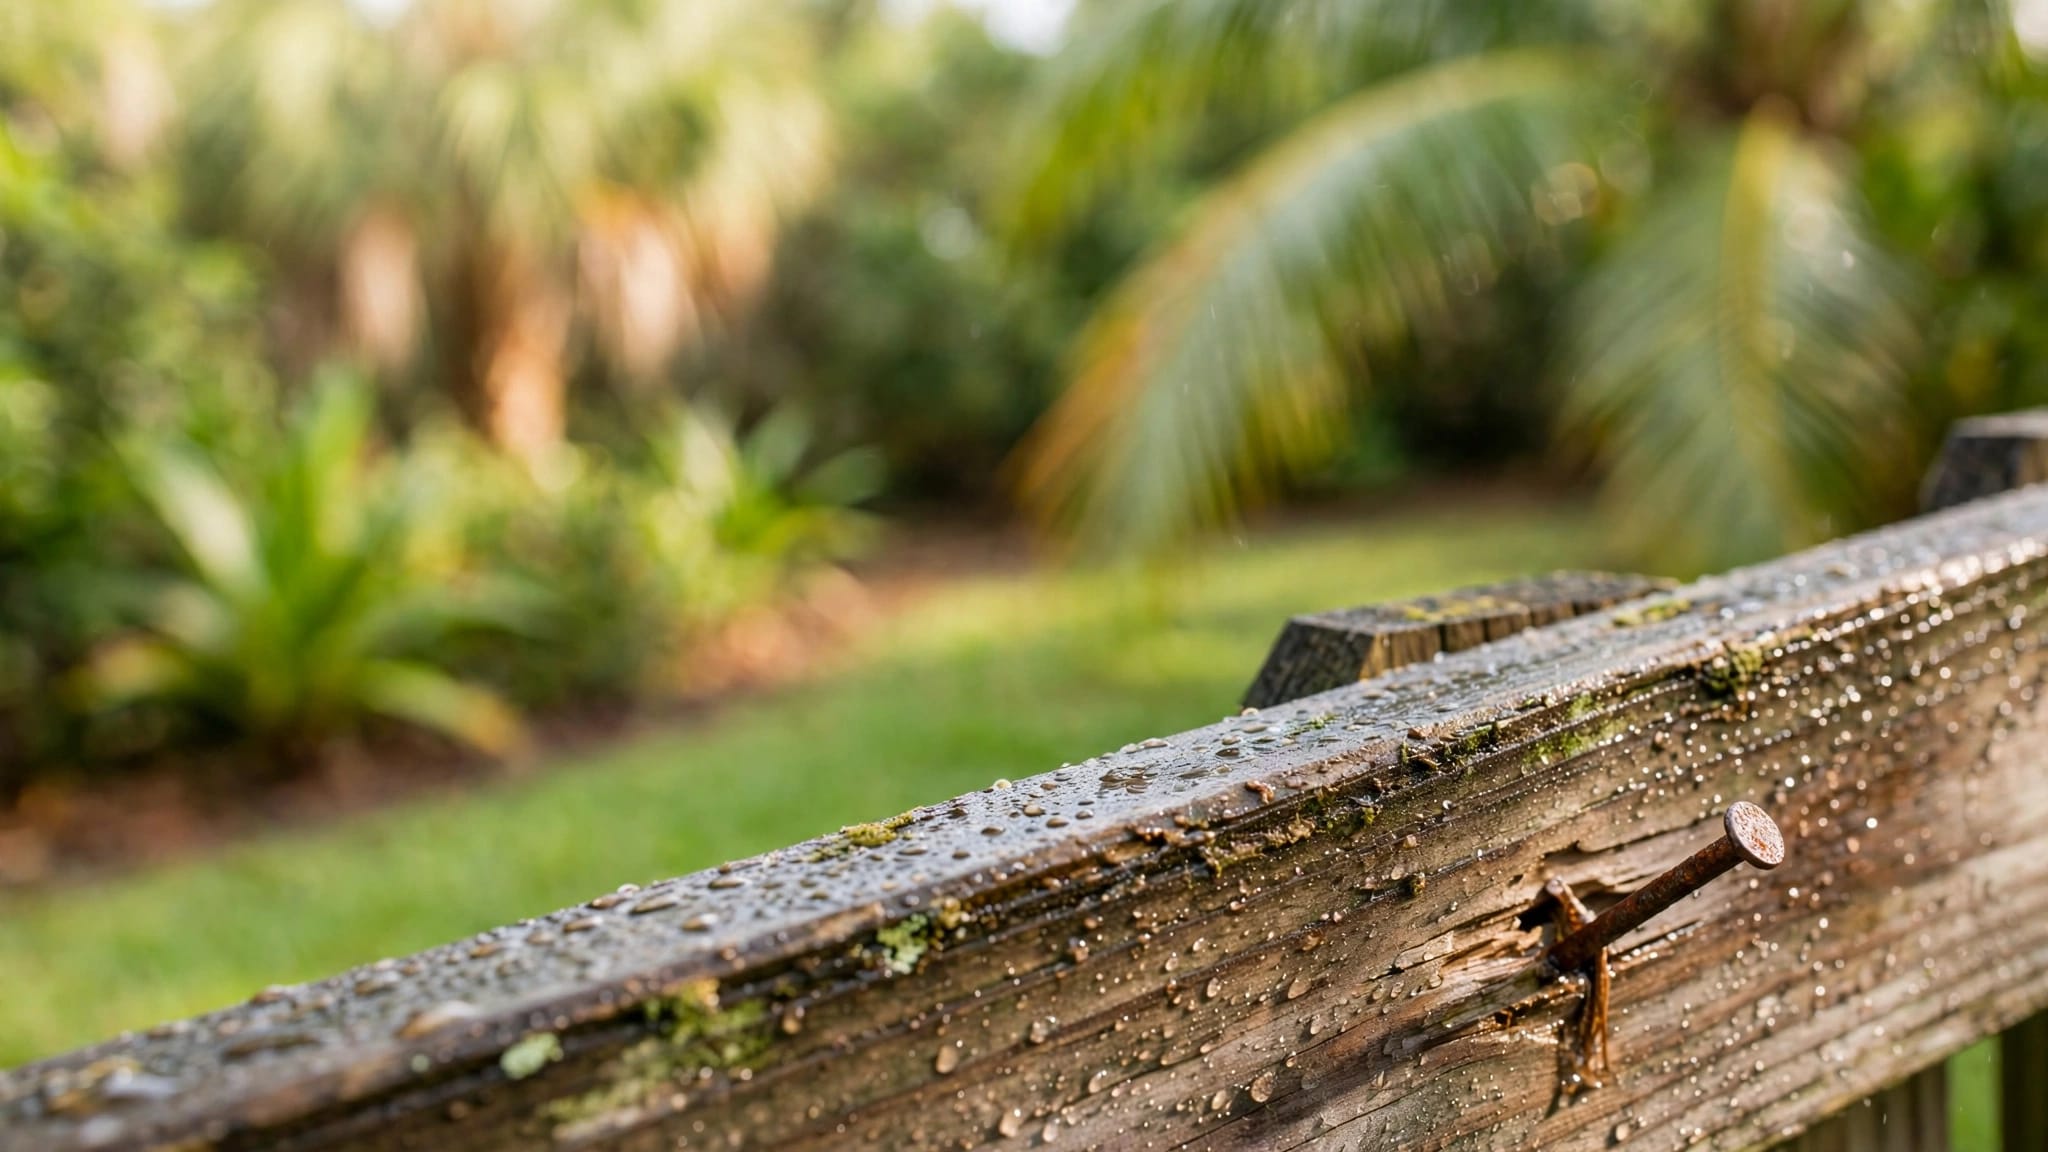
Inspect the exposed end grain for splits, dark areas, and material that feels soft or crumbly. Surface discoloration alone doesn't prove the post has rotted, but soft wood and extensive decay need attention.
Small surface imperfections are different from a post top that has lost substantial material. A new cap needs a sound base. Covering deteriorated wood can hide the problem while moisture and decay continue underneath.
Let damp wood dry before applying a finish or covering it again. Because Florida humidity can slow drying, a sunny-looking surface isn't always a reliable indication that the wood beneath it is ready.
Check the rest of the post
Examine the post at the rail connections and near ground level. Leaning, movement, deep splits, or decay in those areas can affect the fence even when the top appears solid.
Standing water and soil piled against the post can keep its lower section damp. If the fence shifts when the post moves, the repair may involve the post or its footing rather than the cap alone.
Choose a Replacement for Your Post
Choose a cap that matches the size and shape of your post. Fence posts and caps aren't all alike, so the replacement should suit the post you have rather than the name of a fence style.
If appearance matters, compare the replacement with the other caps along the fence. A different profile or color may stand out, particularly on a short fence run.
Consider the cap material
Wood caps can coordinate with a wood fence and can be finished for outdoor exposure. They also need periodic attention because their finish and surfaces weather in the same conditions as the rest of the fence.
Other cap materials, including metal and vinyl, offer a different appearance. Their surfaces still face sun, rain, and, in coastal areas, salt air. Choose a product intended for outdoor fence use and suited to the look you want.
Think about the fence's condition
A replacement cap makes sense when the post beneath it is solid and stable. If multiple posts have decayed tops or the fence has widespread damage, address those repairs as part of the same project.
A new cap won't correct a leaning post or restore wood that has already softened. Taking care of the underlying damage first gives the replacement a sound place to sit.
Protect the Wood Before Finishing the Repair
An exterior wood finish can slow water absorption, but it won't repair decay. Start with clean, sound wood and allow damp surfaces to dry before applying a compatible product.
Treat exposed wood
Pay attention to the exposed post top and any unfinished areas revealed by the old cap. Choose an exterior finish suitable for the wood, including pressure-treated lumber when applicable.
Follow the product's application and drying directions. Applying a coating to damp wood or immediately before rain can interfere with the finish.
If the replacement cap is wood, its exposed surfaces also need protection appropriate for outdoor use. A finish with UV protection can help reduce the effects of strong sun, though it will need maintenance as it ages.
Give the finish time to cure
Southwest Florida's afternoon storms can interrupt a repair that starts under clear skies. Leave enough dry weather for the product you choose, rather than covering wet or uncured wood.
Our Florida wood fence sealing guide covers timing and maintenance for the wider fence. It's useful if the boards and rails need attention along with the post top.
Secure the New Cap and Review the Fence
Once the post is sound and the protective finish has cured, secure the replacement cap using the product's installation directions. The cap should remain stable rather than rocking or shifting when touched.
Take a final look at the surrounding fence. A cap can cover the top of the post, but it doesn't keep water away from the rest of the structure. Rails, boards, and the lower part of the post remain exposed to Florida weather.
If the post moves, the fence leans, or damage extends into adjoining sections, stop treating the job as a cap-only repair. A broader assessment can identify whether the post and nearby fence sections need repair or replacement.
For homeowners who would rather have the work handled professionally, we provide fence repair in Cape Coral and surrounding Southwest Florida communities.
Keep the Repaired Post in Good Condition
After replacement, include the cap in your regular fence inspections. Look for movement, cracks, worn finish, and signs that water is collecting around the post.
Heavy rain and strong wind are good reasons to inspect the fence again. Look at the rails and post base as well as the cap, since storm damage can appear in more than one place.
Redirect sprinklers that repeatedly soak the fence. Also, keep vegetation and mulch away from the wood so air can circulate and the area can dry after rain. Clear drainage paths around the fence line, particularly where water tends to stand.
Many Southwest Florida wood fences need fresh finish every 12 to 24 months. Full sun, canal-side exposure, and repeated sprinkler contact can call for earlier care. Our Southwest Florida fence maintenance schedule offers a broader plan for different fence materials.
Give the Post Protection That Lasts
A replacement cap helps protect the exposed top of a wood fence post, but the condition underneath determines whether the repair will last. Inspect the post first, address decay or instability, and let the wood dry before applying a finish.
With a sound post and a properly sized cap, regular attention to moisture and sun exposure can help you catch the next problem before it spreads along the fence.