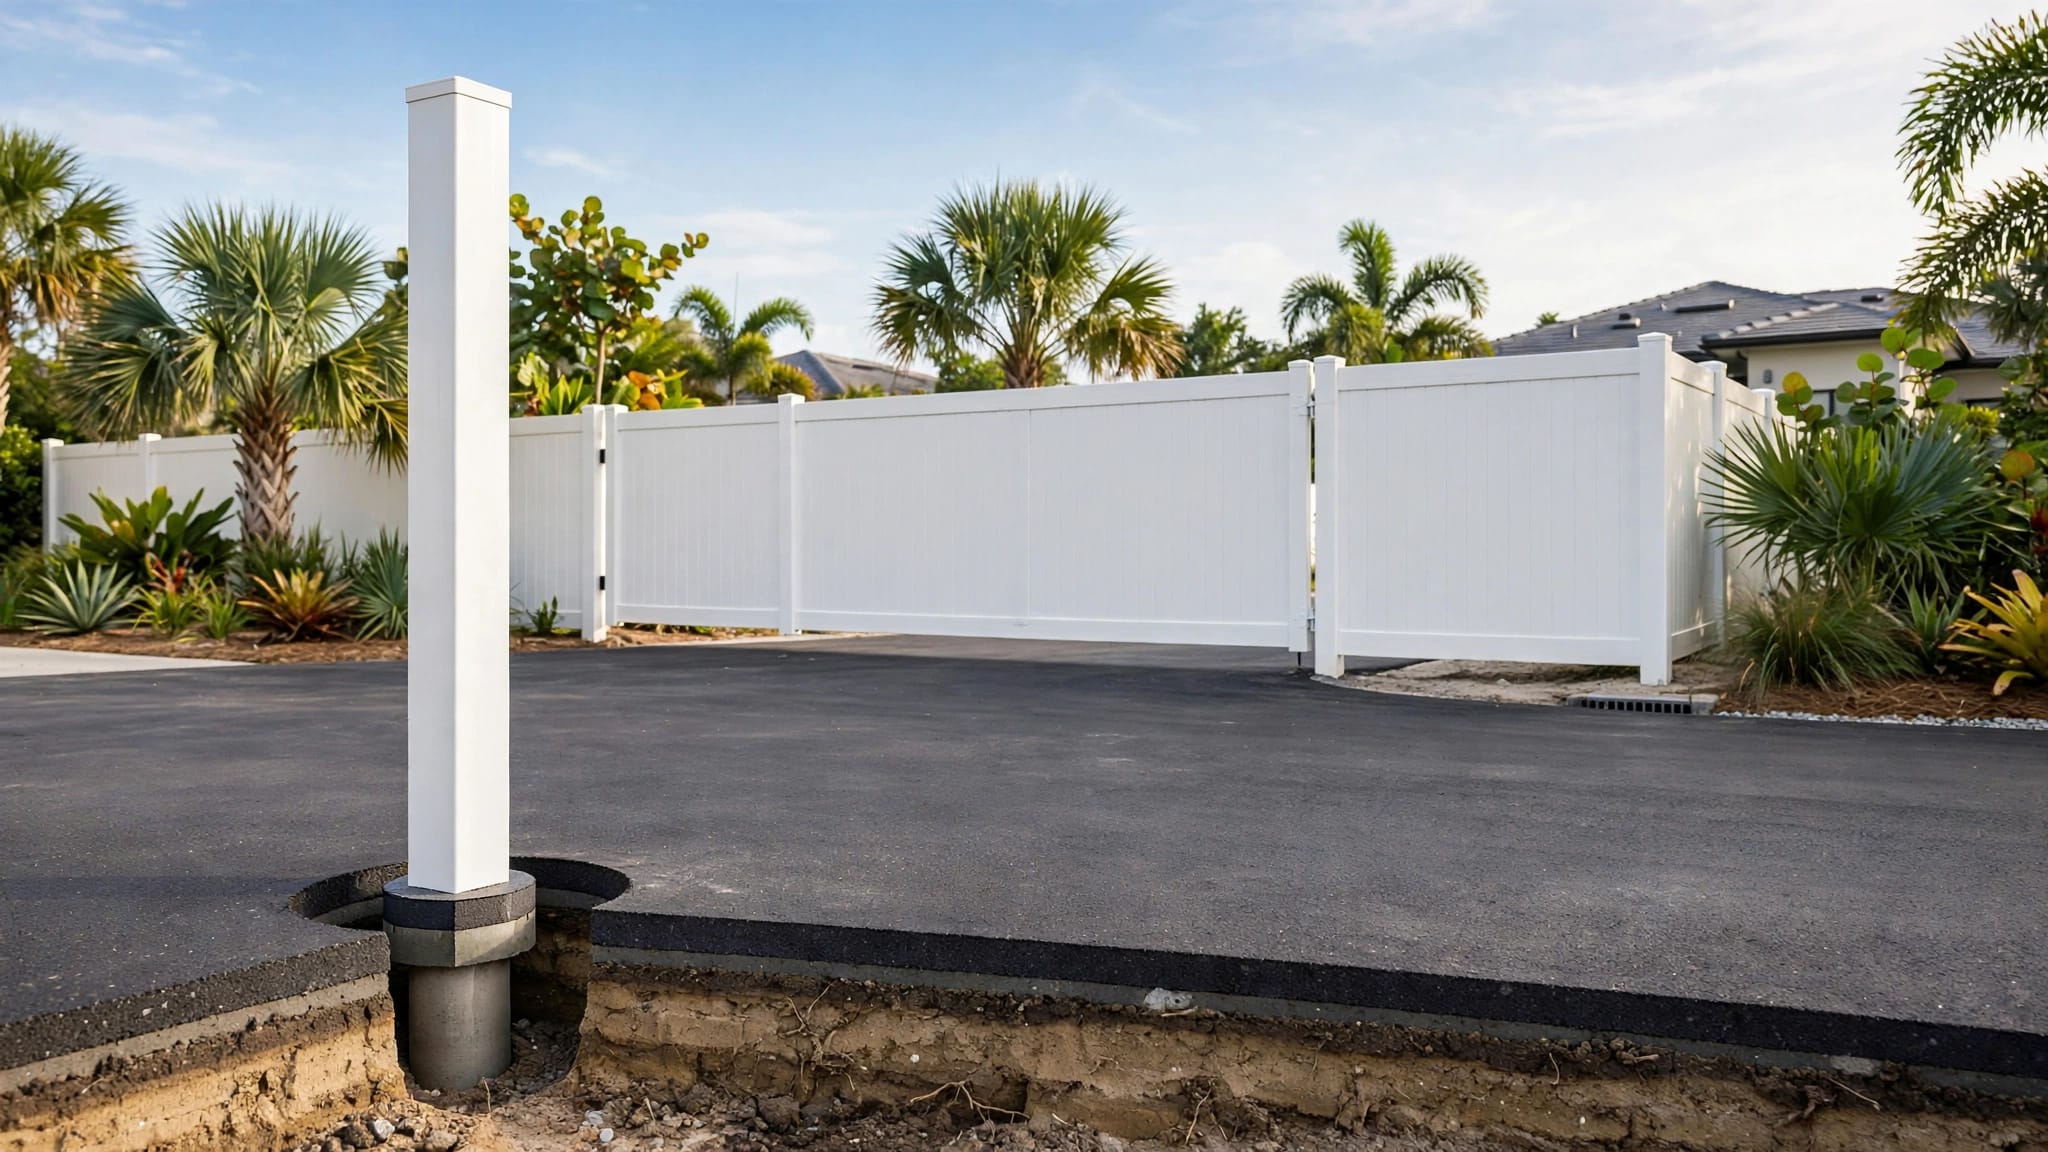
How to Replace a Single Fence Post Without Taking Down the Fence
A leaning post can make an entire fence look ready for replacement. Often, the damaged post is the only part that needs to go. The critical step is supporting the attached panels before you disturb their footing.
If you replace fence post connections when the wood below ground is rotten, the lean will return. Check what failed first, then use a method that fits your fence material and the conditions in your yard.
Key Takeaways
- You can often replace one post while leaving neighboring fence sections in place, provided the rails and panels are sound.
- Brace the attached sections before disconnecting them, and never let a panel hang from one remaining post.
- Locate underground utilities before digging. Check local permit and pool-barrier requirements when they apply.
- Match the new post and footing to the fence design. Let the footing develop strength before loading the post.
Replace Fence Post Connections or the Post Itself?
A loose fence doesn't always need a new post. Finding the point of movement saves you from excavating a sound footing or tightening hardware around a failing one.
Check where the movement starts
With the fence unloaded and no one leaning against it, gently test the post near ground level. If the post stays firm but a rail shifts, inspect brackets, screws, and rail ends. A broken fastener or split rail may be the entire problem.
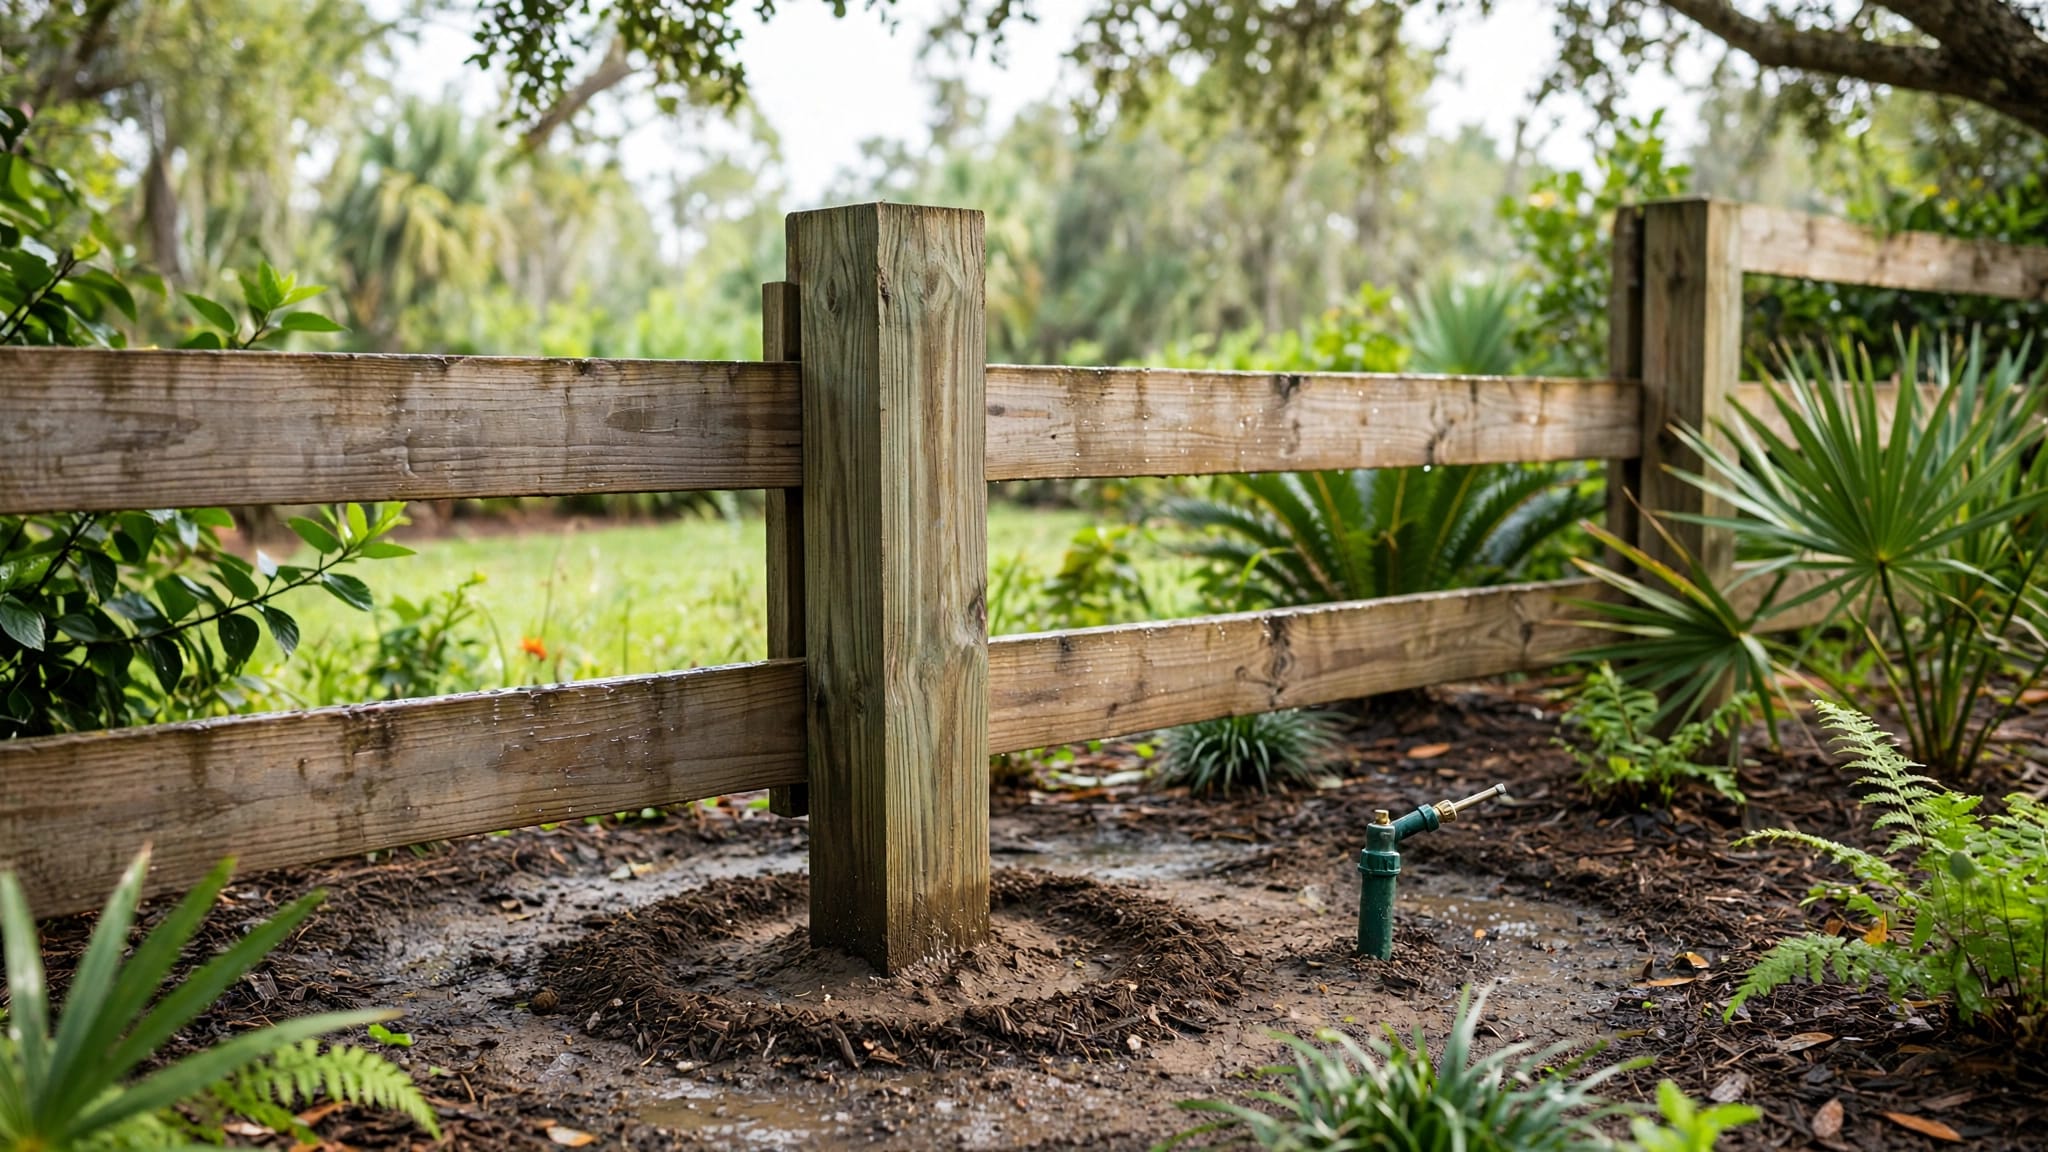
If the post moves with the fence, look for rotted wood, cracked vinyl, bent metal, or a loose concrete footing. Soil that has washed away around the base also deserves attention. A sound post may need its footing corrected rather than replacement.
Inspect both neighboring sections
Check the rails, panels, and posts on either side. Rot at several wood post bases, brittle vinyl across multiple panels, or repeated storm damage points to a larger repair. Replacing one post won't steady a run that is failing elsewhere.
A guide to deciding when to repair or replace a fence can help when the damage extends beyond a single location. Also check whether the damaged post carries a gate or forms a corner. Those posts face different loads than a typical line post.
Make the Work Area Safe Before You Dig
A detached panel can fall, and a shovel can strike a buried line. Deal with both risks before removing any hardware.
Locate utilities and hidden lines
Contact Florida 811 and wait for utility markings before excavation. Marked public utilities aren't the whole picture: private irrigation, landscape lighting, pool equipment lines, and other owner-installed services may need a separate locate.
Identify the property line, easements, and nearby drainage features. Keep the replacement in the existing location unless you've confirmed that a change is allowed. Wear eye protection and gloves when handling broken wood, metal edges, concrete, or power tools.
Keep the fence supported
Keep children and pets away from the work area. Brace the panels on both sides with stable temporary supports before you disconnect them. The supports must carry the panels without pushing hard against the next sound posts.
Treat pool fences differently. An open or unstable section can leave a pool accessible. Arrange an approved way to maintain the required barrier before starting work, or have a qualified contractor manage the repair. Don't leave the opening unsecured while concrete sets.
Match the New Post to the Fence
Buy the replacement only after you know how the old post connects to the fence. Measure its exposed height, cross section, rail positions, and the distance between neighboring posts.
Check the connections
Wood rails may attach with screws, nails, or brackets. Vinyl rails may slide into routed post openings. Chain-link fabric uses fittings and tension hardware, while aluminum panels often connect through brackets or a manufacturer-specific system.
Photograph both sides of the post before disassembly. If replacement parts have a different profile or opening position, you may be unable to reconnect an otherwise sound panel.
Plan the footing
Look at the existing hole and the fence's approved design before choosing a post length or footing size. Southwest Florida's sandy, wet soil and wind exposure make embedment important, especially for privacy fences. The site's requirements and fence system should determine the final depth.
Supreme Fence of SWFL's guide to post depth in sandy soil discusses 42 to 48 inches for better wind resistance, particularly on 6-foot privacy fences. That range isn't a rule for every post.
How to Replace One Fence Post, Step by Step
The order matters. Keep the fence supported while you free the old post, prepare its footing, and install the replacement.
- Brace the neighboring sections. Set stable temporary supports beneath or against the attached rails and panels. Check that they hold the sections steady without bending them. If a panel is too heavy or flexible to support safely, stop and get help.
- Release the connections at the damaged post. Remove fasteners or brackets carefully, saving reusable parts and labeling rail positions. On a wood fence, avoid splitting sound rail ends. Don't force vinyl rails out of routed openings or cut metal fittings without understanding how the panel is held.
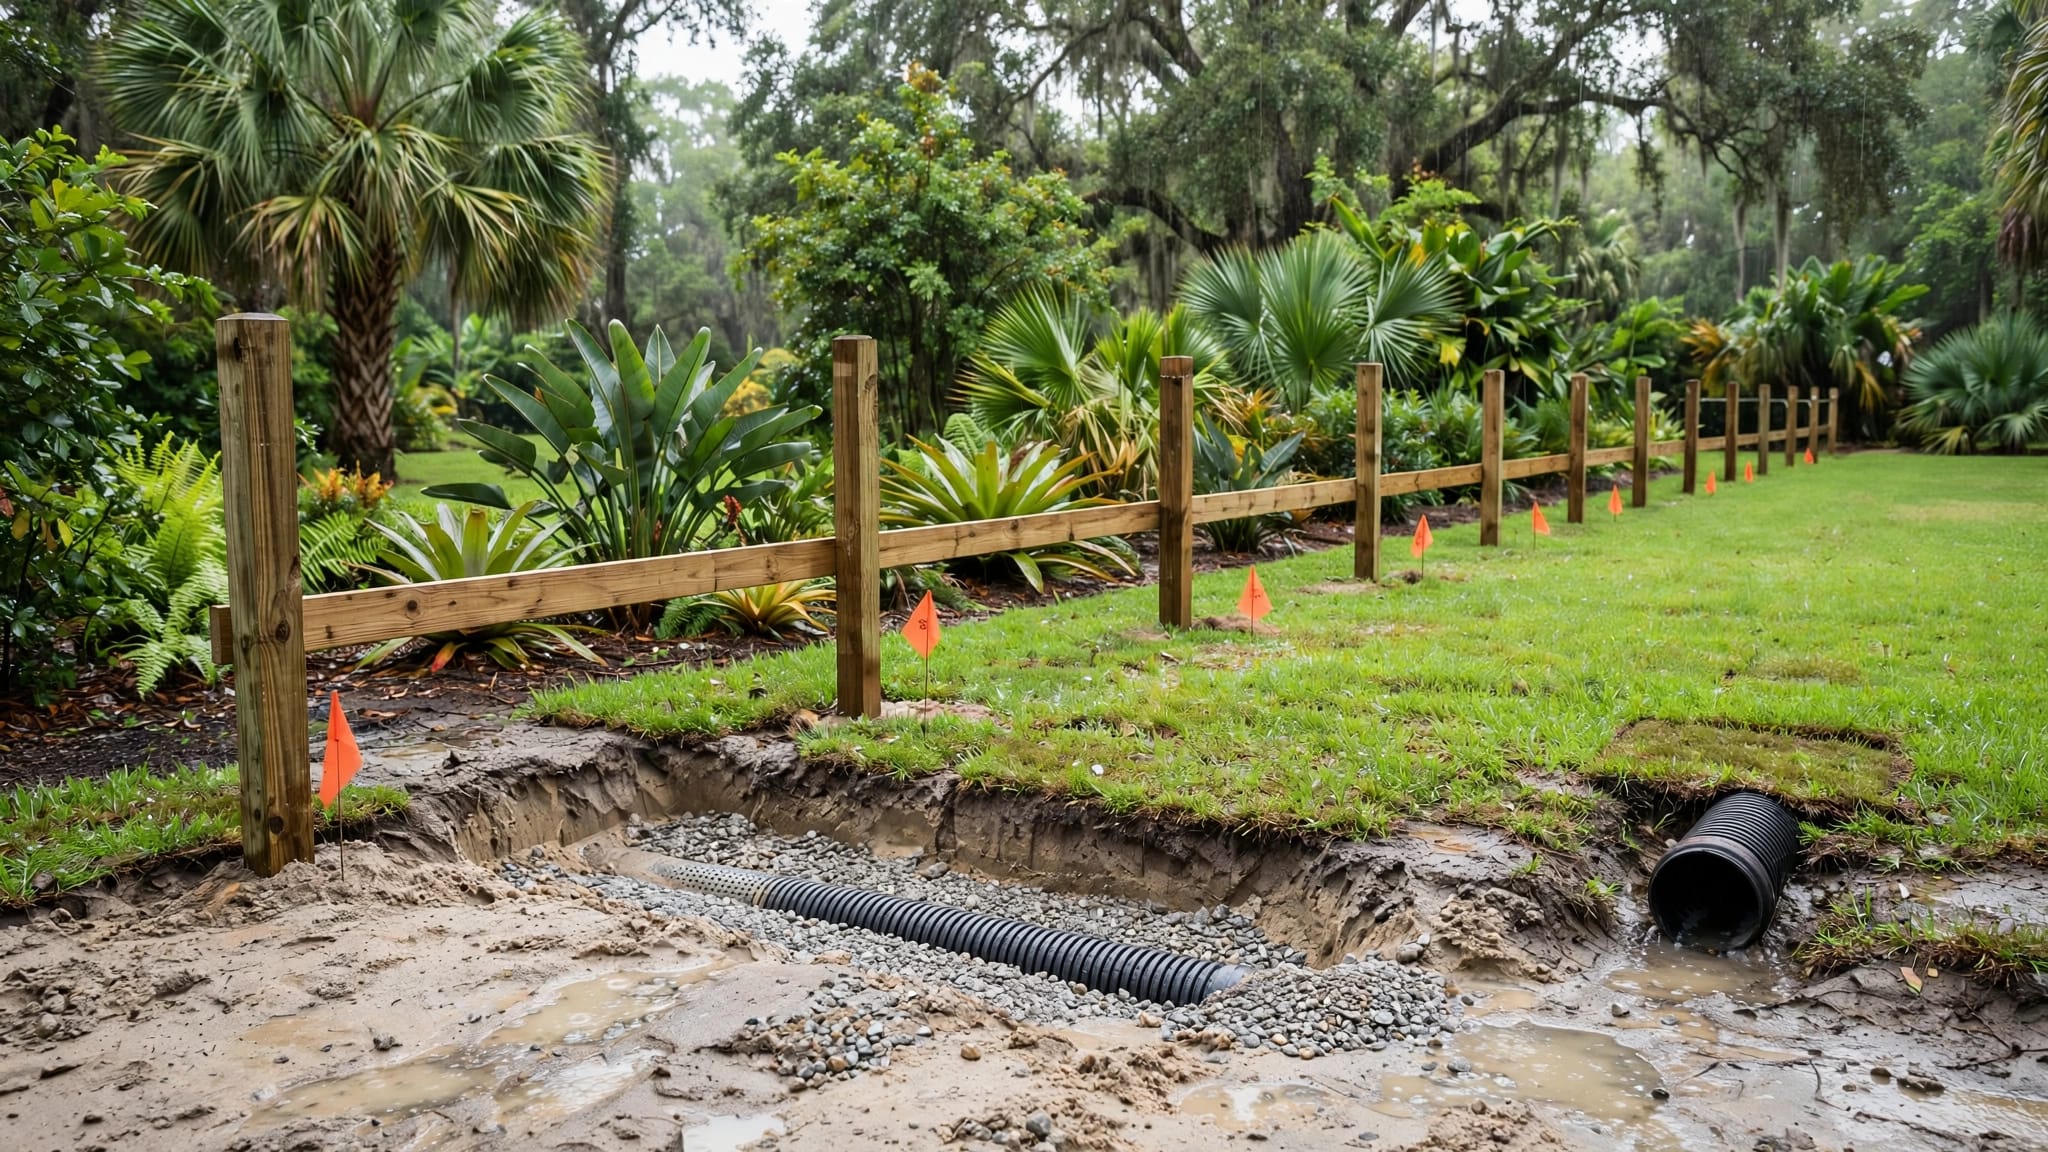
- Excavate around the old footing. Dig carefully to expose the post and concrete, if present. Lift out the old post and footing without levering against neighboring posts. If removal would tear up sound panels or damage nearby utilities, a contractor can assess a less disruptive approach. Avoid setting a new post into an old, loose concrete collar.
- Prepare the hole and position the replacement. Clear loose debris. Follow the fence design and the post or footing manufacturer's instructions for the hole and setting material. Align the post with the existing run, then check its height, spacing, and plumb before securing it.
- Hold the post steady while the footing sets. Brace it independently so it cannot shift. Shape the top of a concrete footing to shed water where the specified installation method calls for it. Follow the setting material's instructions before attaching heavy panels or operating a gate.
- Reconnect and inspect the fence. Reattach the rails, panels, or fittings at their original positions. Remove temporary supports only after the post can carry the load. Sight down the fence line, check for movement, and confirm that any gate opens and latches correctly.
A straight post isn't a finished repair until its footing can hold the fence's weight and wind load.
Adjust the Method for Your Fence Material
The basic sequence stays the same, but connection details determine how much of the adjacent fence you must loosen.
Wood and vinyl fences
Wood is often easier to disassemble one rail at a time. Inspect rail ends while they're free: soft or split wood may need replacement before it can hold fasteners. Use exterior-rated fasteners suited to the material and local exposure. If you replace fence post brackets, match their size and placement to the existing rails.
Vinyl needs a compatible post profile. Rails may lock into routed openings, so pulling them sideways can crack a sound panel. Check the manufacturer's connection method before applying force. A cracked post beside brittle panels may also signal that the repair extends beyond one part.
Chain-link, aluminum, and other metal fences
Chain-link fabric can carry tension. Releasing fittings without controlling that tension can make the fabric or rail spring out of place. Bent top rails and damaged fabric also need attention before the replacement post can do its job.
Aluminum and other metal panels may need matching brackets or proprietary components. In Southwest Florida, salt exposure makes fastener choice important. The site's storm-damaged fence repair guidance discusses stainless or hot-dip galvanized fasteners along with post depth and wind exposure.
Check Local Rules Before Changing the Fence
A one-post repair may be treated differently from rebuilding a long section. Rules vary by city, county, location, and scope, so don't assume that a repair never needs approval.
Before work begins, ask the building department that covers your address whether a permit or inspection applies. Check with your HOA, too. A change in height, material, layout, or post location deserves particular attention. Pool barriers and fences near property lines, drainage areas, or easements may have additional requirements.
Keep the work within the existing fence line unless you've verified the boundary and any required approvals. If digging reveals that the old post sits in the wrong place, pause rather than copying the mistake.
Know When Professional Repair Makes Sense
A straightforward wood line post with accessible rails may be manageable for a prepared homeowner. A gate post, corner post, tensioned chain-link section, pool barrier, buried utility conflict, or large concrete footing raises the stakes.
For a local price reference, Supreme Fence of SWFL's 2026 Cape Coral fence repair cost guide lists $175 low, $325 average, and $650 high for resetting or replacing one post. Those figures aren't a quote. Concrete removal, access, footing requirements, and other failing posts can change the price.
Ask for a written scope that identifies the post, footing, connections, cleanup, and any permit responsibility. That makes it easier to compare a one-post repair with broader work.
Frequently Asked Questions
Can I leave both fence panels attached while replacing the post?
That depends on the connection system and how well you can support the panels. You can often leave the panels standing, but you'll usually need to release their connections at the damaged post. Never rely on an unsupported panel to stay upright while you remove its anchor.
Can I reuse the old concrete footing?
Only if the repair method and footing condition support it. A loose, cracked, undersized, or misplaced footing won't become sound because the post above it is new. Check the fence system's requirements before choosing any reuse method.
How long should I wait before reattaching the panels?
Follow the setting material's instructions and account for the weight on the post. A light panel and a working gate place different demands on a new footing. Keep the temporary supports in place until the post is ready to carry its load.
Who can assess a difficult single-post repair?
A local fence contractor can check the footing, panel connections, and damage on either side. Supreme Fence of SWFL provides fence repair in Cape Coral for wood, vinyl, metal, and chain-link fences.
A Sound Repair Starts Beside the Post
One damaged post doesn't have to mean taking down the whole fence. The neighboring sections must be sound, supported, and able to reconnect to the replacement.
Check the cause of the movement before you dig. Then match the post and footing to the fence, and wait until the new support is ready before putting the panels back under load.